Install MySQL
Install MySQL and JDBC
MySQL is an open-source relational database that is free and widely used. To install MySQL on one of your EC2 instance with Ubuntu, connect to one of your cluster node.
Once connected, type in the following commands in the Terminal to install MySQL and all dependencies.:
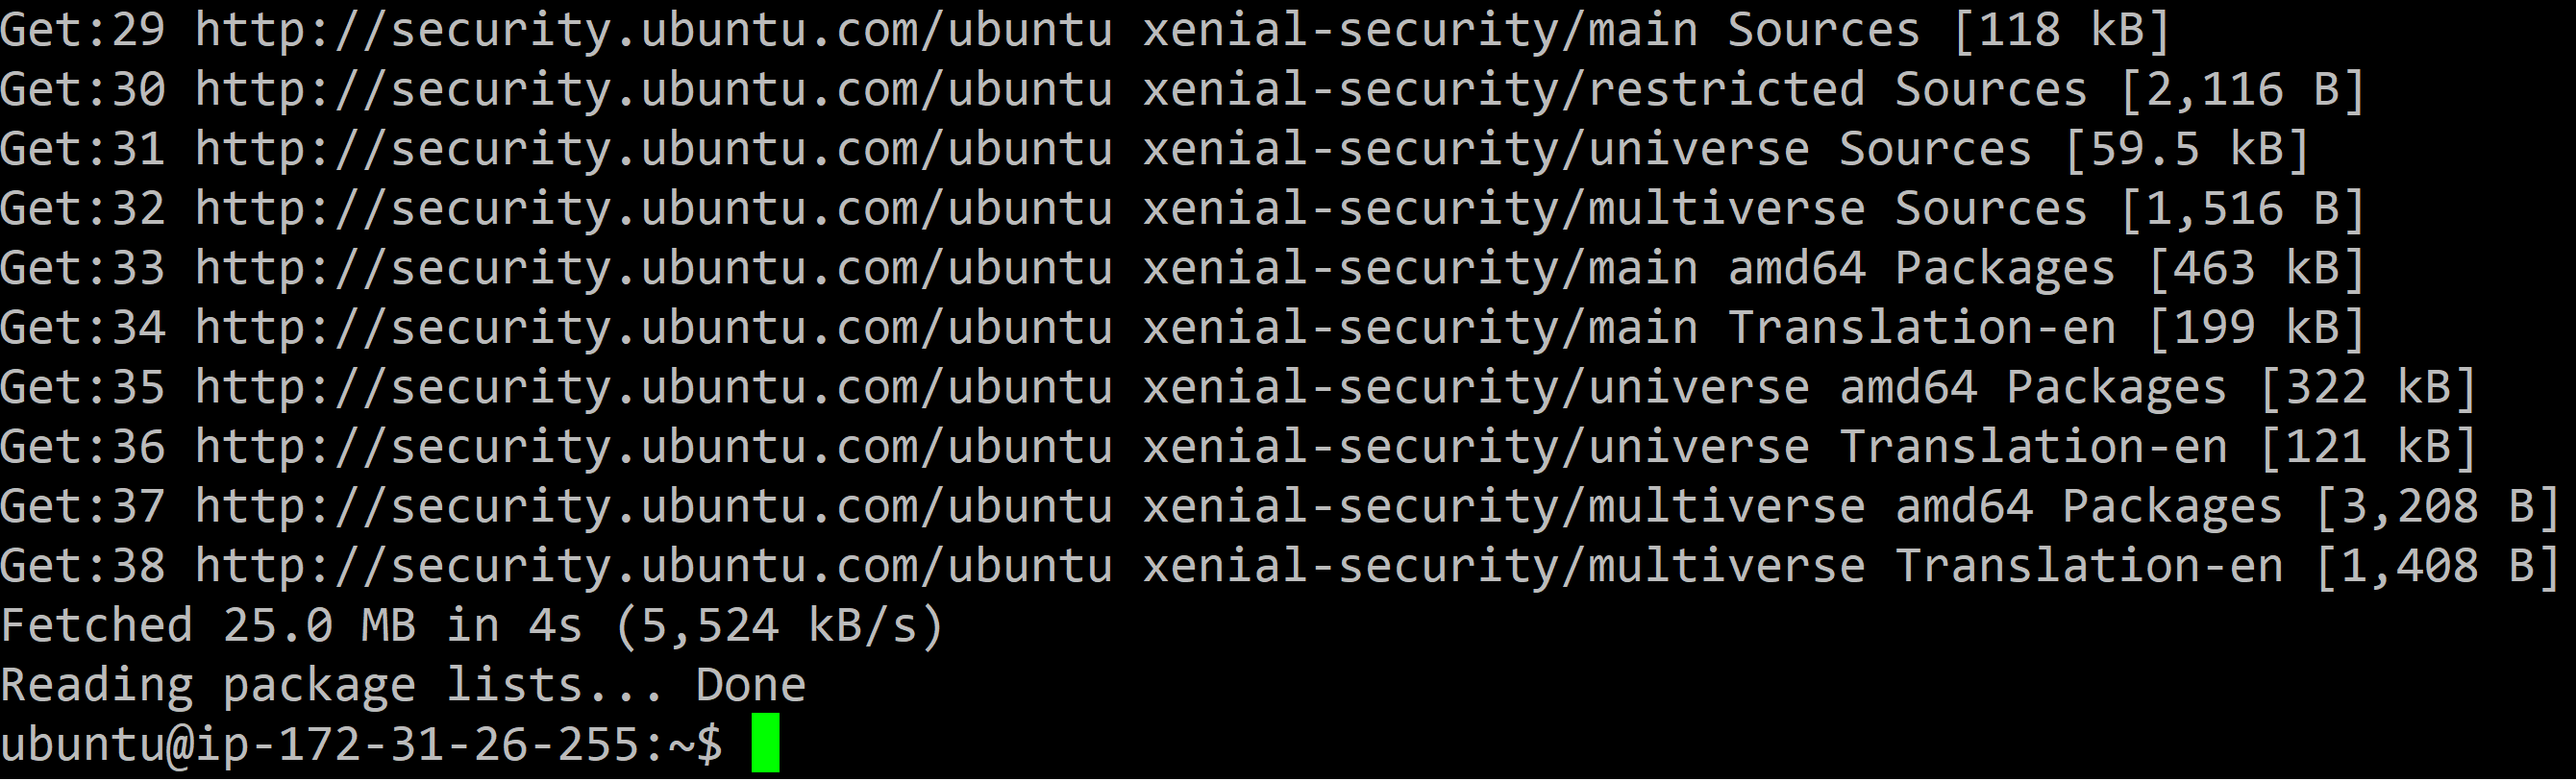
sudo apt-get update
sudo apt-get install mysql-server
When prompted, enter Y:

Next you will be requested to choose a root password for MySQL:
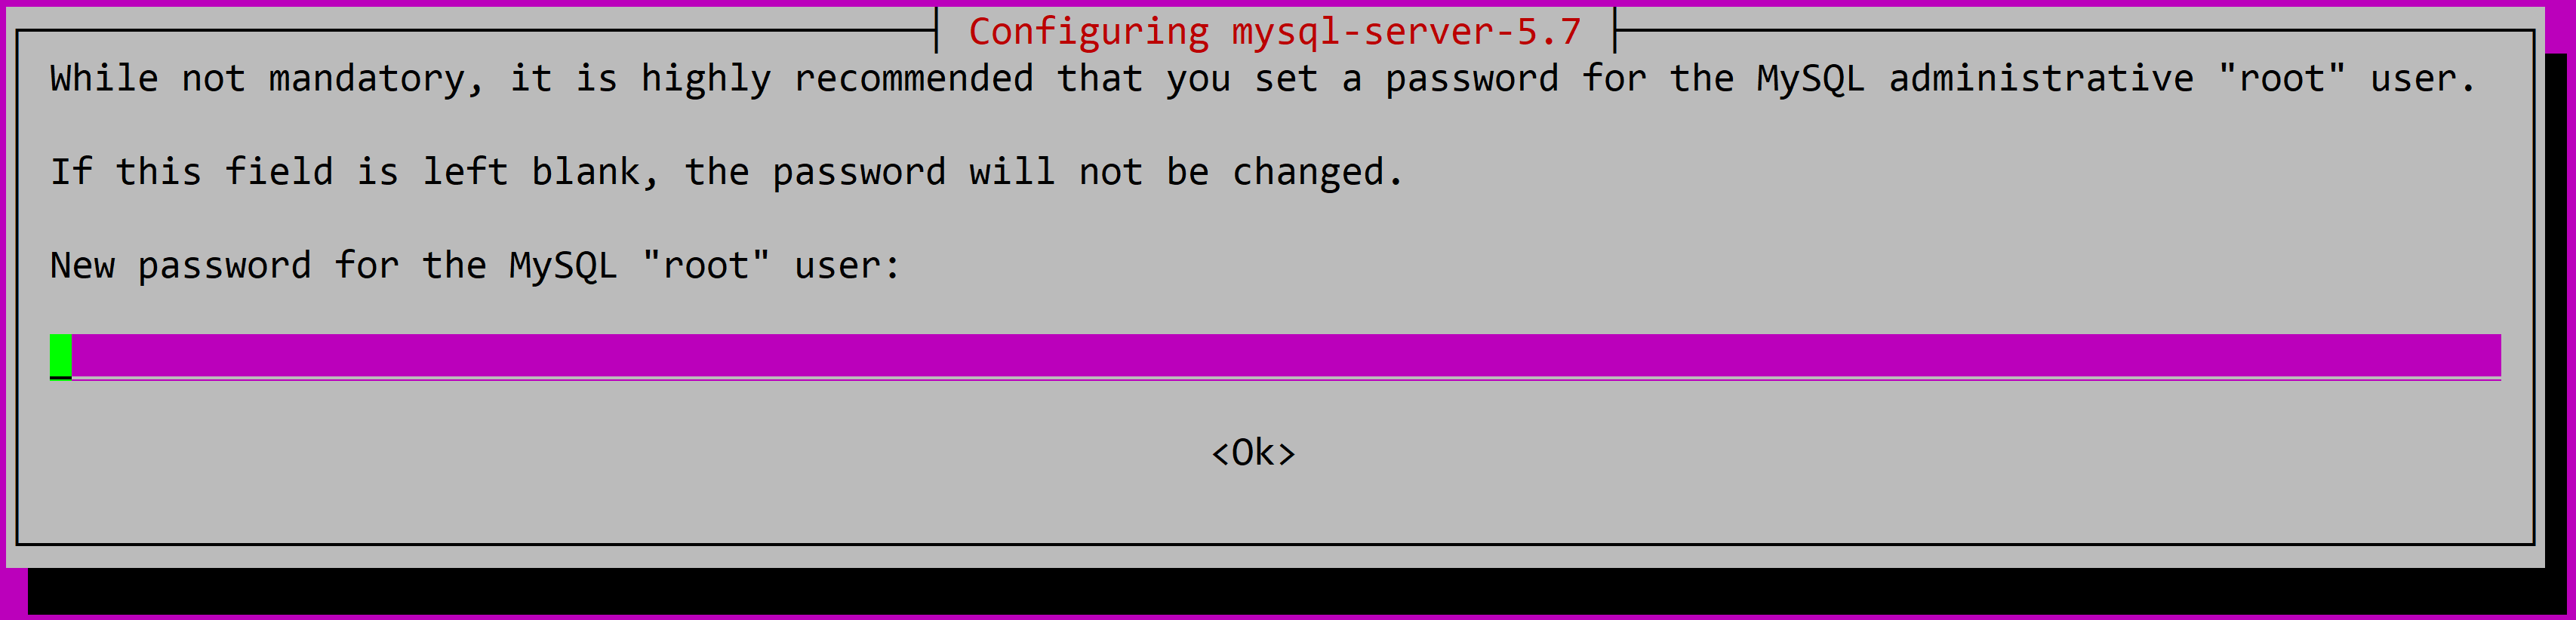
Enter the password again to confirm. The installation will then proceed.
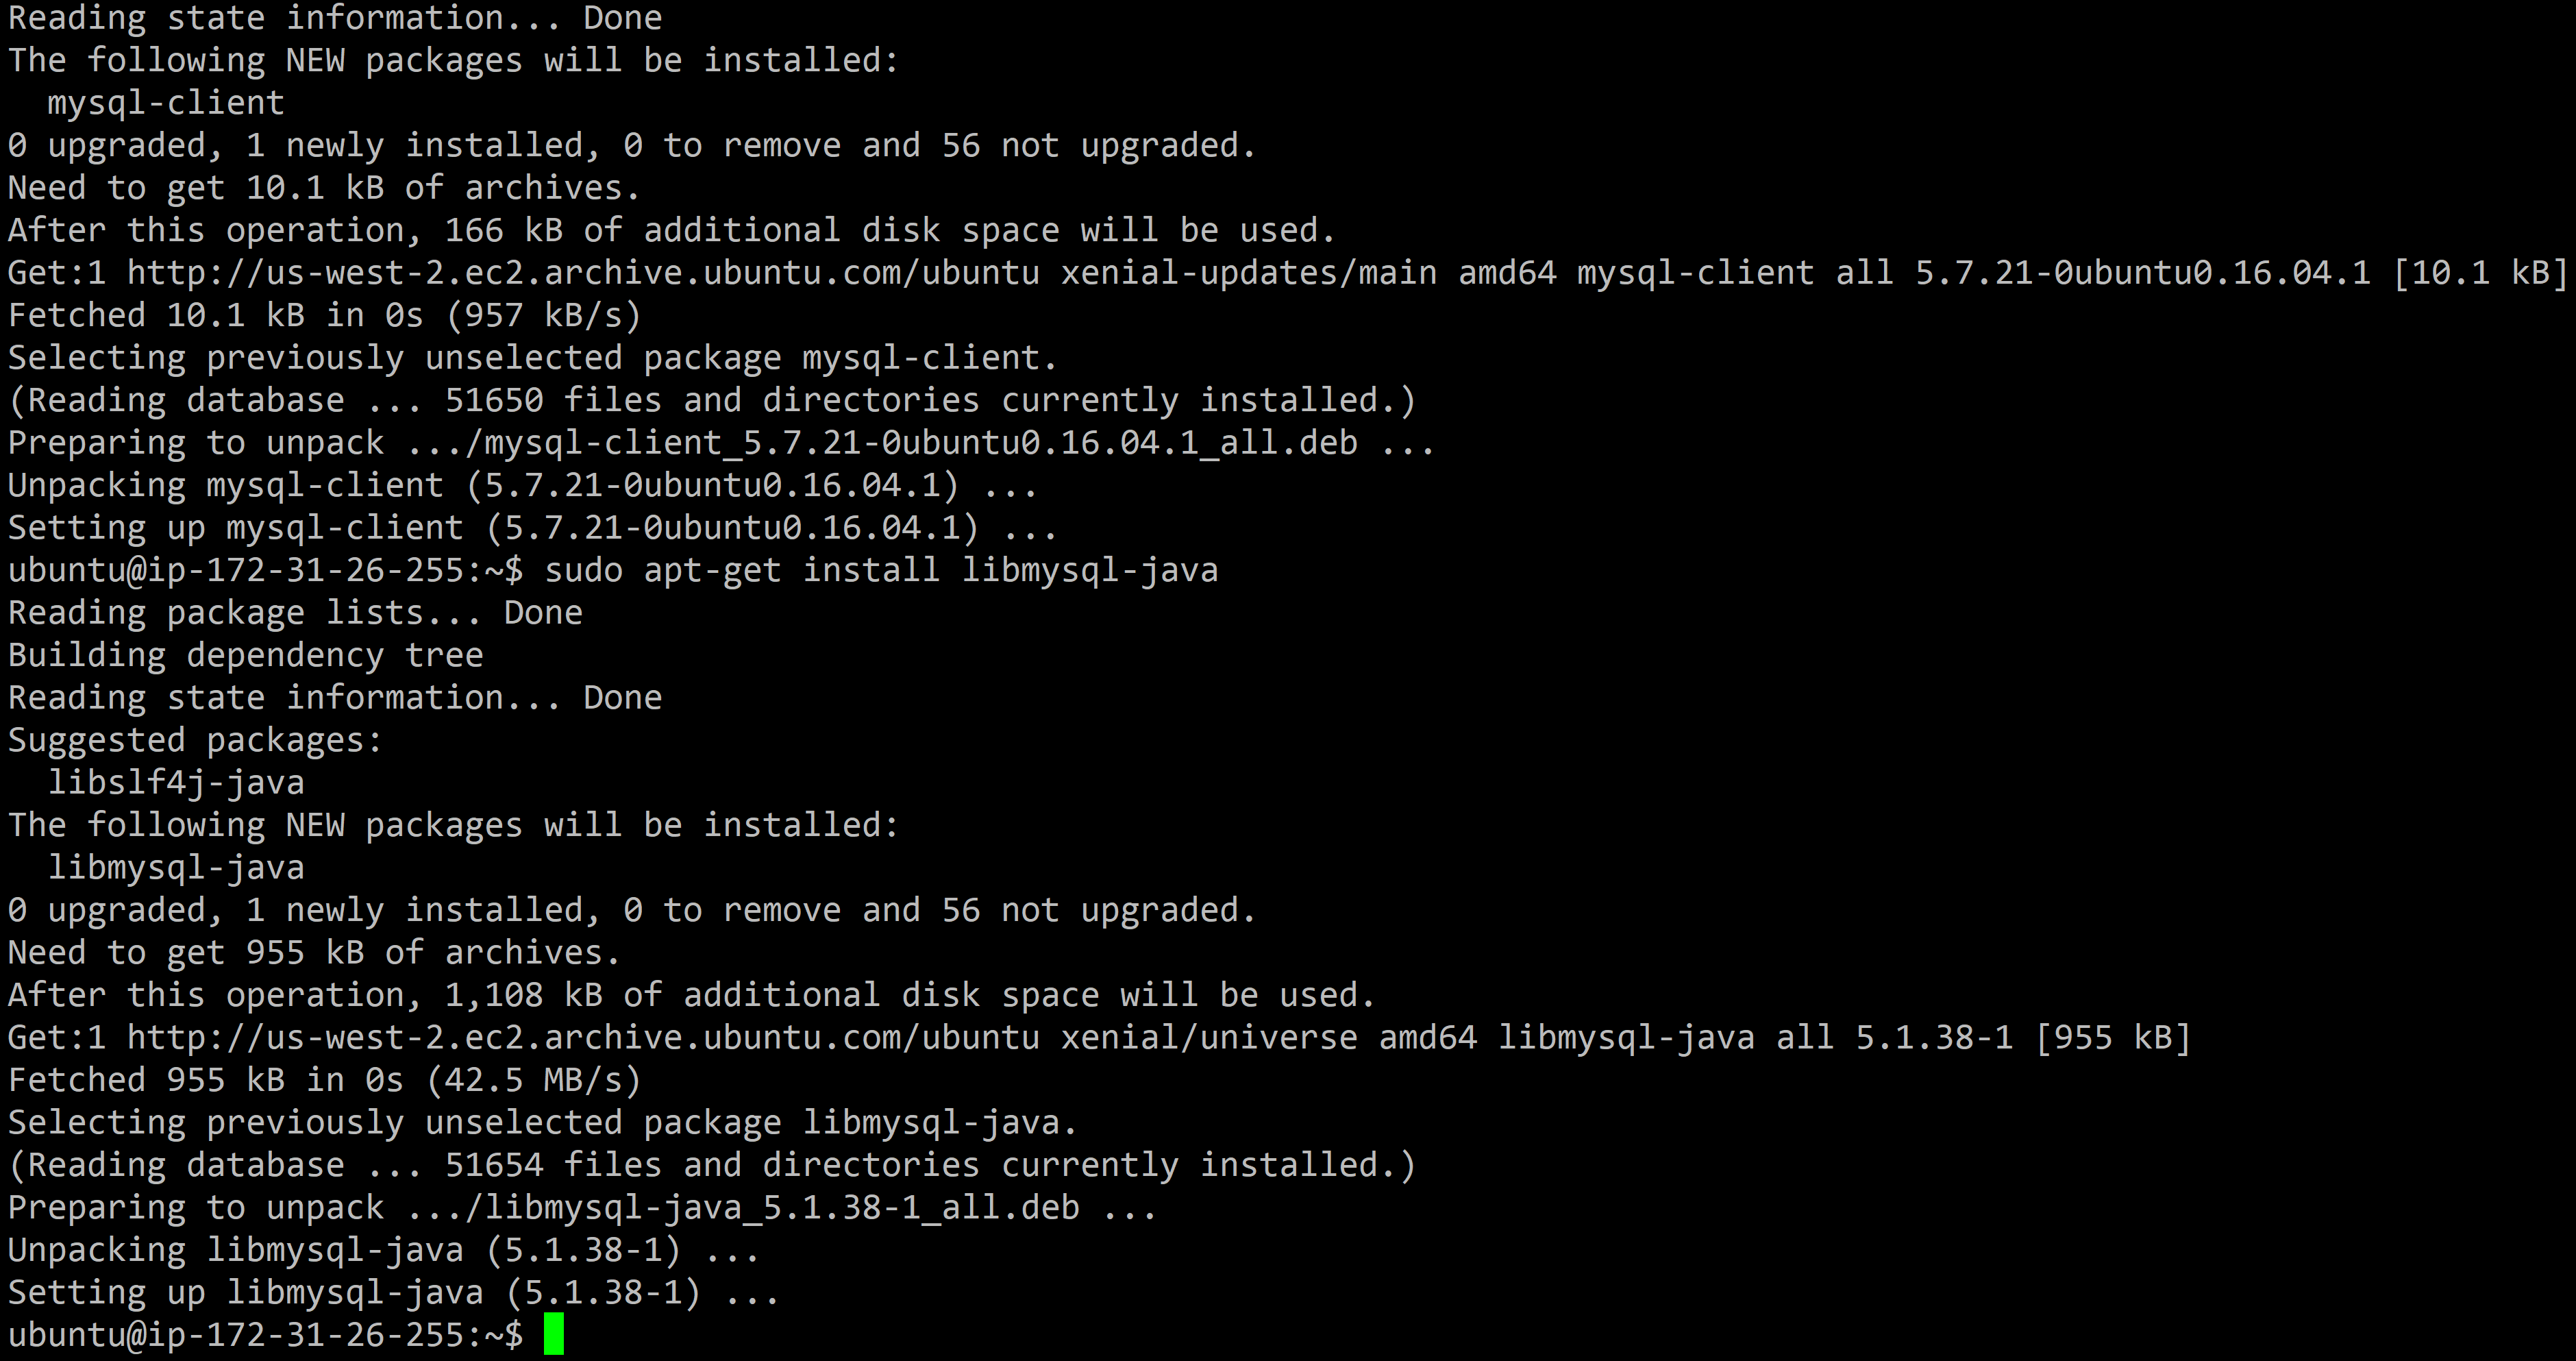
Eventually, MySQL server will be installed successfully. We can now install MySQL client and the JDBC driver with the following commands:
sudo apt-get install mysql-client
sudo apt-get install libmysql-java
Now MySQL is ready for use. There are few extras steps to perform to have it working with Sqoop. This is explained in the next section.
Setup MySQL for Sqoop
To have MySQL working with Sqoop, there are few extras steps to perform.
First, we need to copy the mysql-connector-java.jar file to /var/lib/sqoop/:
sudo cp /usr/share/java/mysql-connector-java.jar /var/lib/sqoop/
If we want to use Sqoop within HUE, we also need to have a copy for the mysql-connector-java.jar file in HDFS:
hadoop fs -copyFromLocal /usr/share/java/mysql-connector-java.jar /user/ubuntu
Next we need to update the mysqld.cnf file in /etc/mysql/mysql.conf.d/:
sudo nano /etc/mysql/mysql.conf.d/mysqld.cnf
Find the following line:
bind-address = 127.0.0.1
And comment it out:
#bind-address = 127.0.0.1

Save the modification and exit nano.
Now we can restart MySQL service using:
sudo service mysql restart
Create a MySQL user
Download the movielens database
wget https://s3-us-west-1.amazonaws.com/julienheck/hadoop/6_data_ingestion/mysql/movielens.sql
In the terminal, type in the following command to login to MySQL:
mysql -u root -p
You will be prompted to enter your root password that you created during MySQL installation.
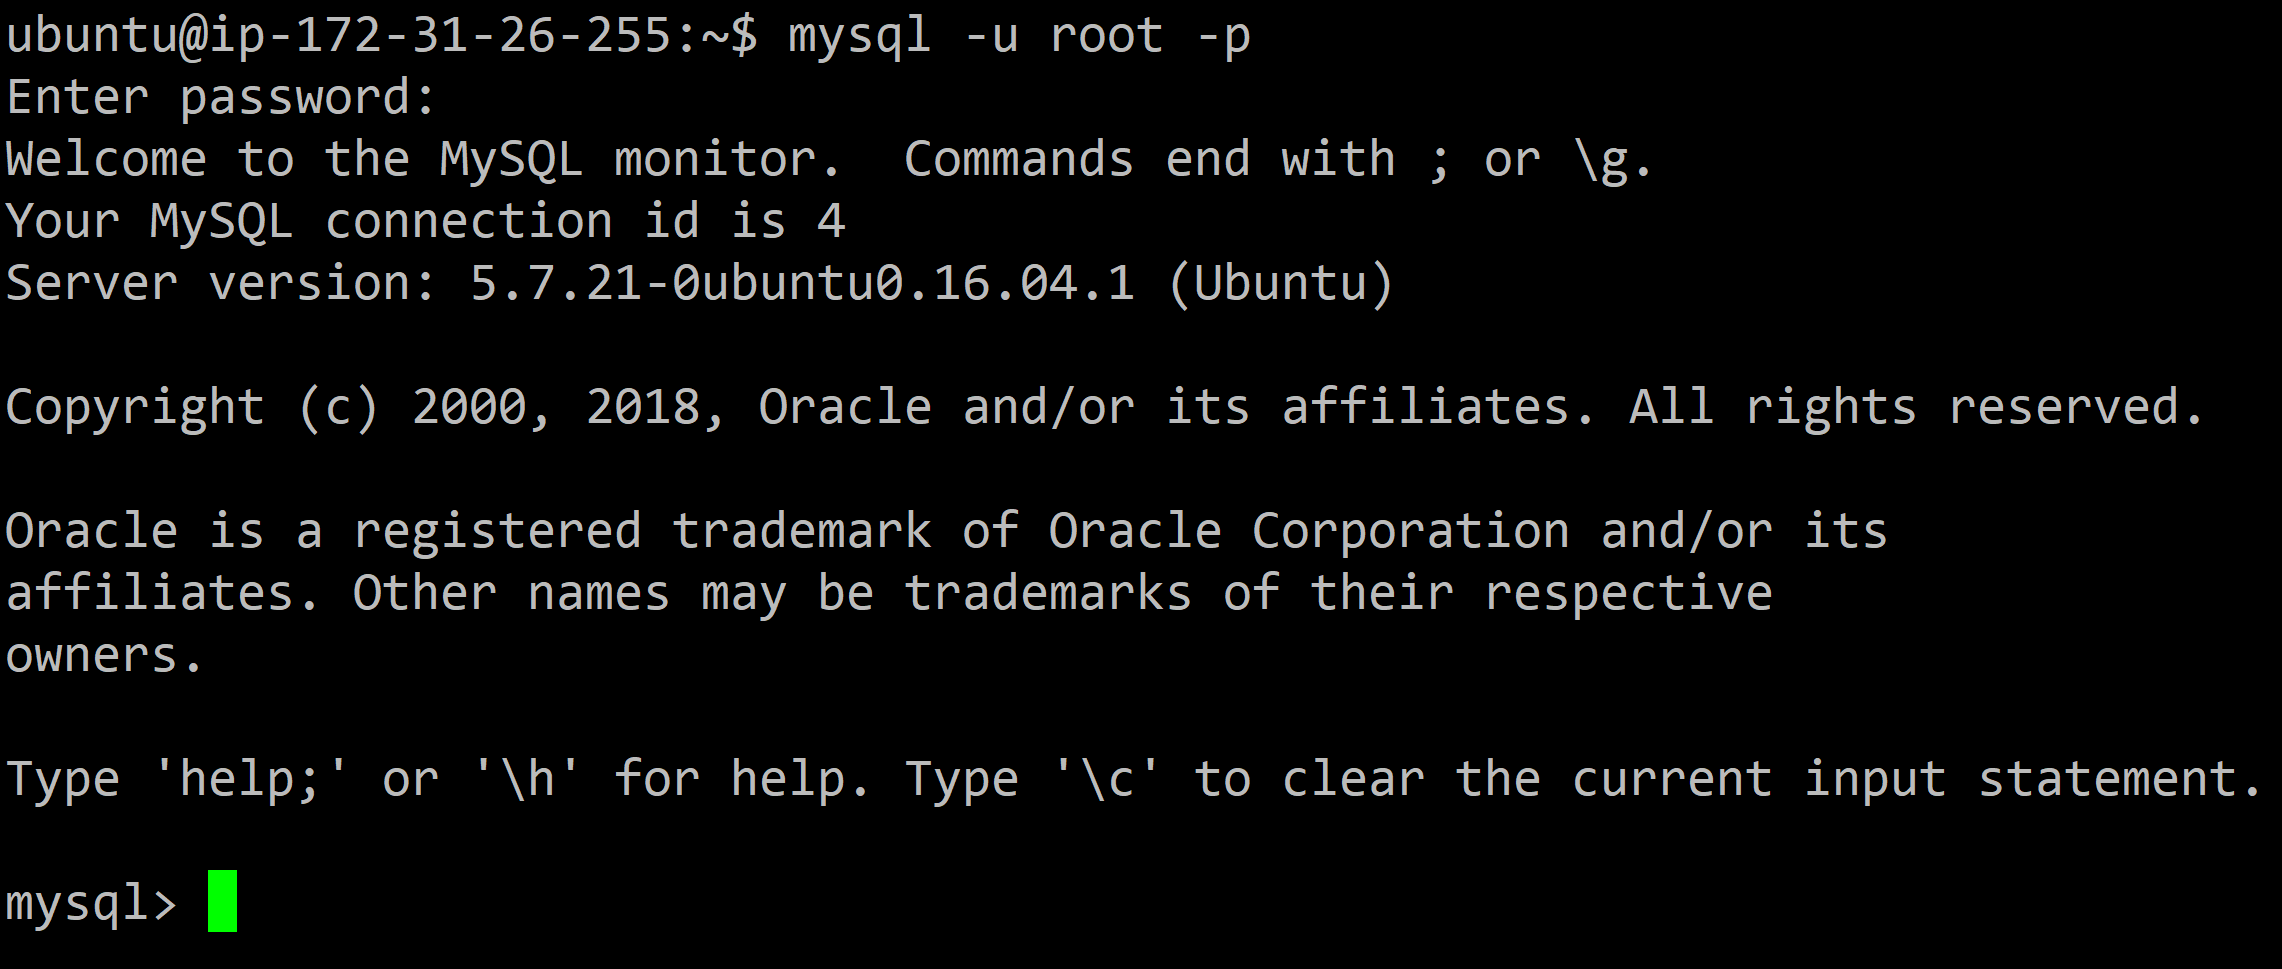
Once log in, enter the following command to create a new user:
CREATE USER [user name]@'localhost' IDENTIFIED BY [password];
Which can be for example:
CREATE USER 'ubuntu'@'localhost' IDENTIFIED BY 'ubuntu';
Next, create the movielens database using the movielens.sql code downloaded previously:
CREATE DATABASE movielens;
USE movielens;
SOURCE movielens.sql;
We can grant all privileges on a certain database for all hosts to this newly created user using the following command:
GRANT ALL PRIVILEGES
ON [database name].*
TO 'ubuntu'@'%'
IDENTIFIED BY 'ubuntu';
Which in our case can be:
GRANT ALL PRIVILEGES
ON movielens.*
TO 'ubuntu'@'%'
IDENTIFIED BY 'ubuntu';
This will allow us to use this user with our Sqoop commands for that particular database.