Install CDH5 on an AWS EC2 cluster
Step by step guide to installing Cloudera CDH5 on an AWS EC2 cluster. It is assumed you already have one or more EC2 instances with Ubuntu up and running in your AWS account.
Reference: https://www.cloudera.com/documentation/enterprise/latest/topics/cm_ig_non_production.html
Download and run the Cloudera Manager Installer
Once connected to the Master Node of your cluster using SSH, execute the following commands.
- Download the installer:
wget http://archive-primary.cloudera.com/cm5/installer/latest/cloudera-manager-installer.bin
- Change permissions of cloudera-manager-installer.bin to have executable permission:
chmod +x cloudera-manager-installer.bin
- Run the Cloudera Manager Server installer:
sudo ./cloudera-manager-installer.bin

Read and Accept the Associated License Agreements
After running the Cloudera Manager installer, you should see the following screen:
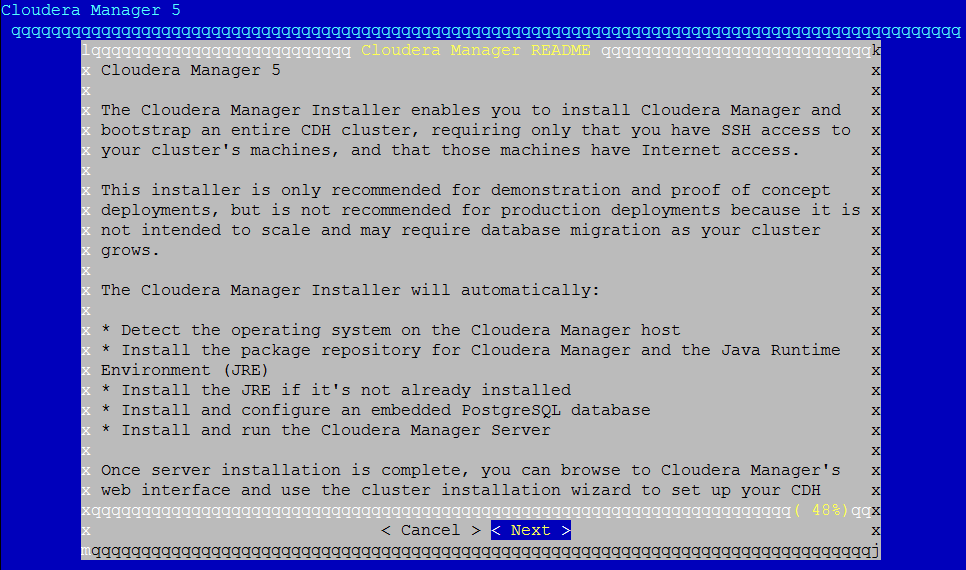
Click "Next", and you’ll see the following screen:
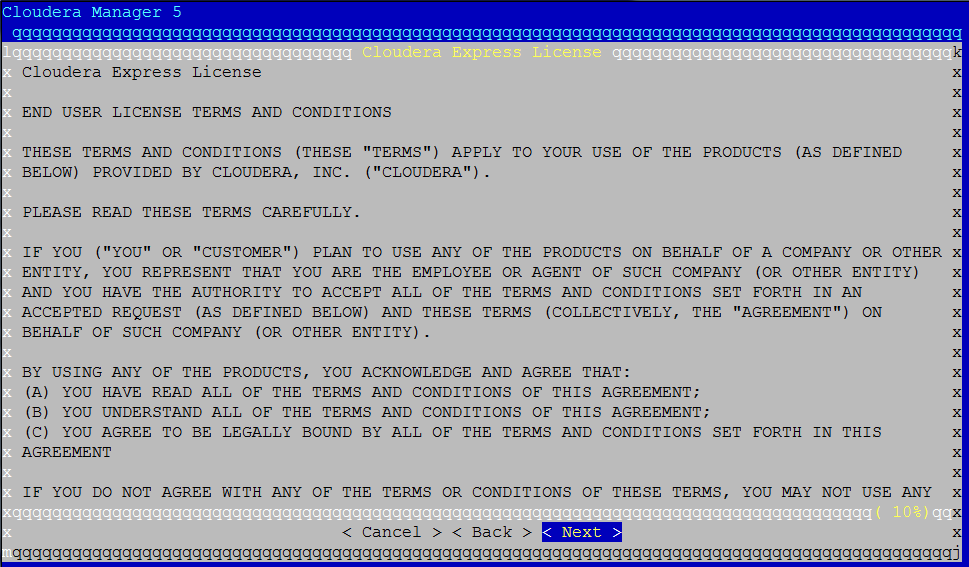
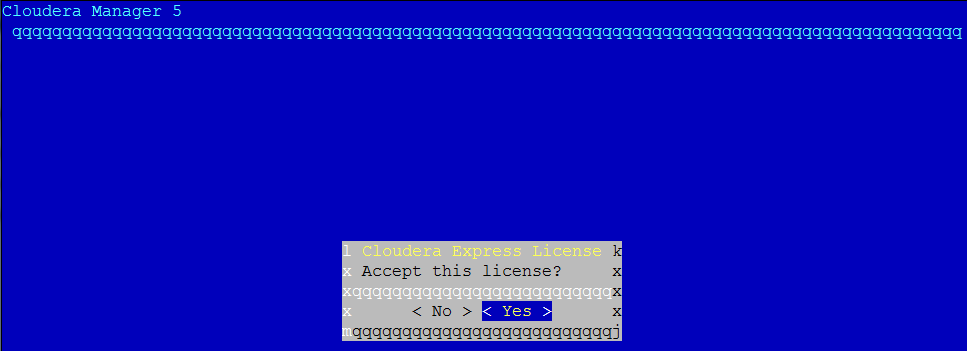
Click “Next” again to see the following screen. Move to “Yes” and accept the license
Click “Next” on the following screen:
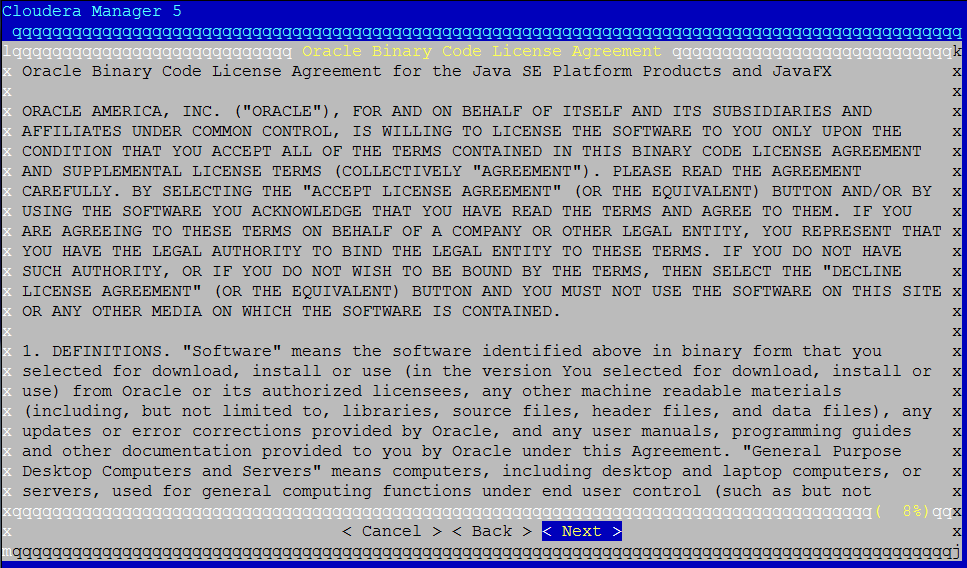
Again move to “Yes” and accept the license:
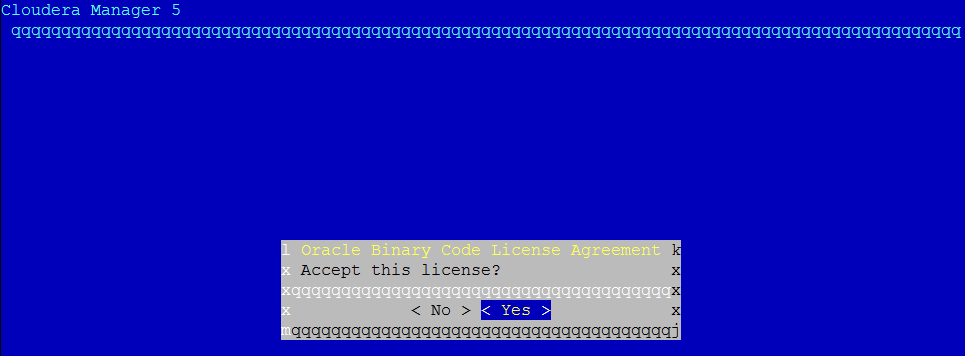
Cloudera Manager is now being installed on your EC2 instance. It may take several minutes to finish:
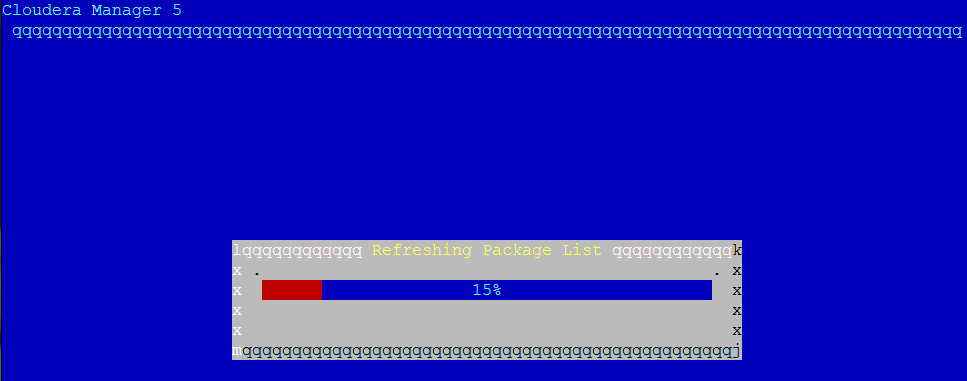
After it is done, you should see the following screen:
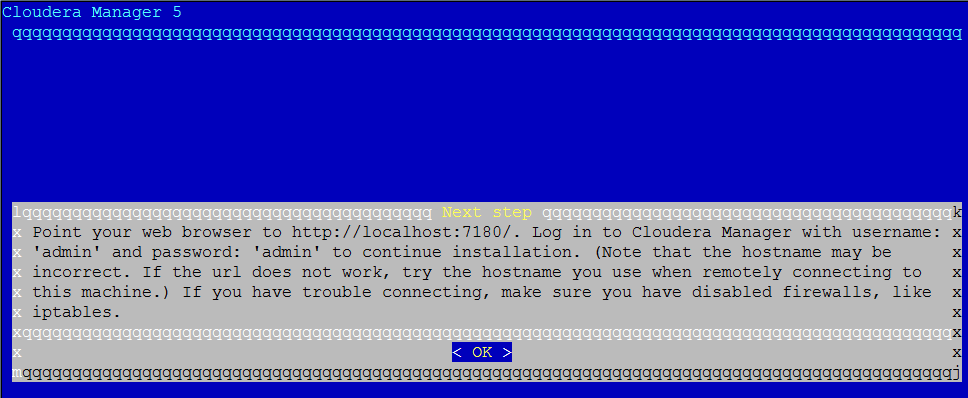
You can now log into the Cloudera Manager to finish the installation.
Log into the Cloudera Manager
In a web browser, enter the Cloudera Manager URL. The Cloudera Manager Server URL (displayed by the installer in the previous step) takes the following form:
http://server_host:7180
For example, the Cloudera Manager URL can be something like:
http://ec2-52-36-64-79.us-west-2.compute.amazonaws.com:7180
The login screen for Cloudera Manager displays:
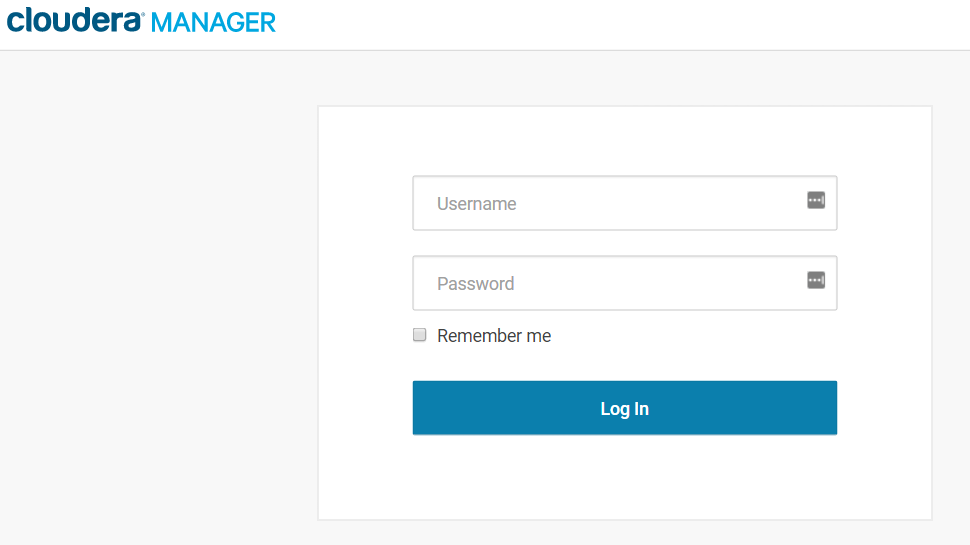
Type "admin" for both Username and Password.
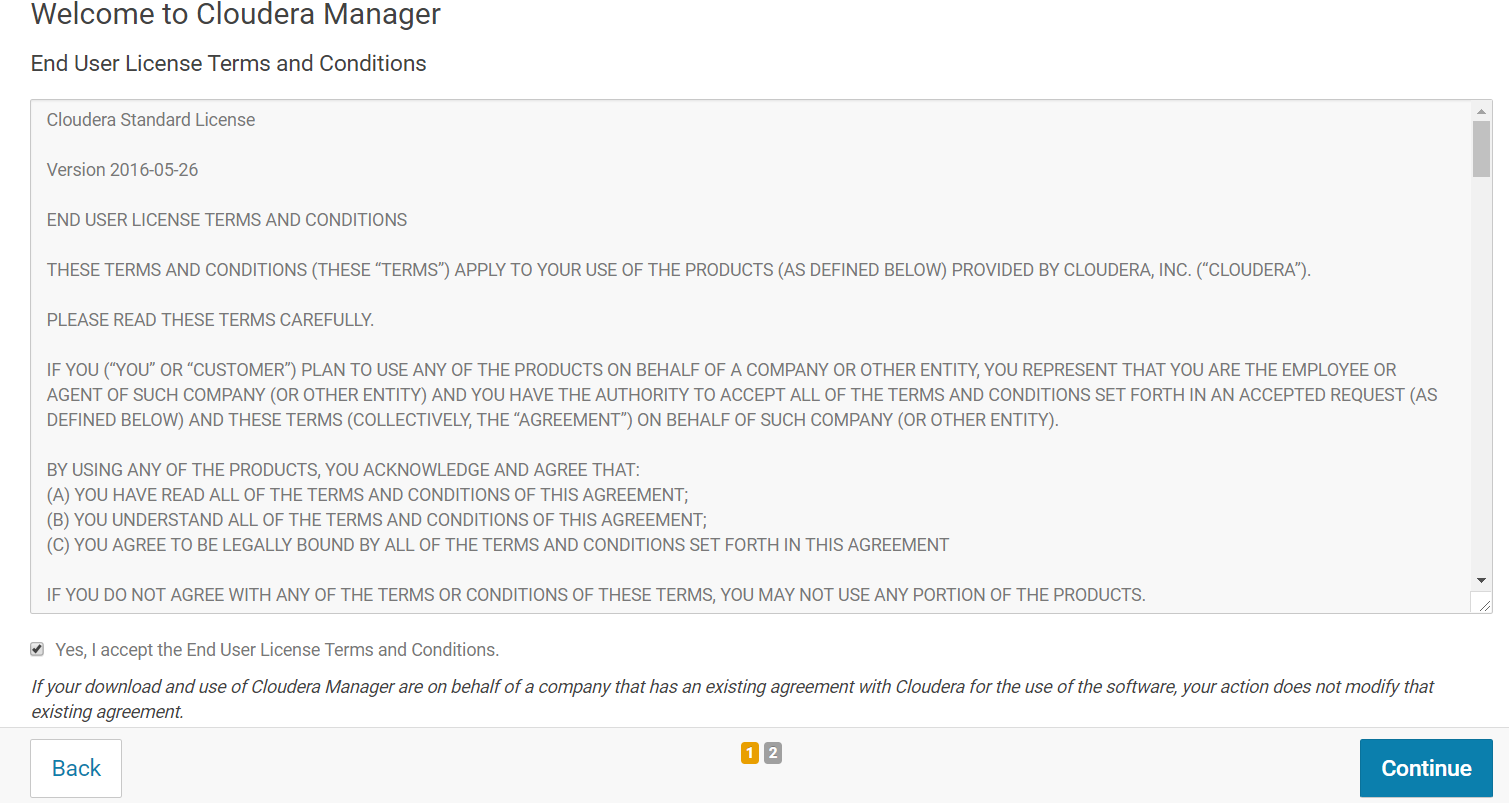
After you log in, the End User License Terms and Conditions page displays. Select "Yes" and click on "Continue".
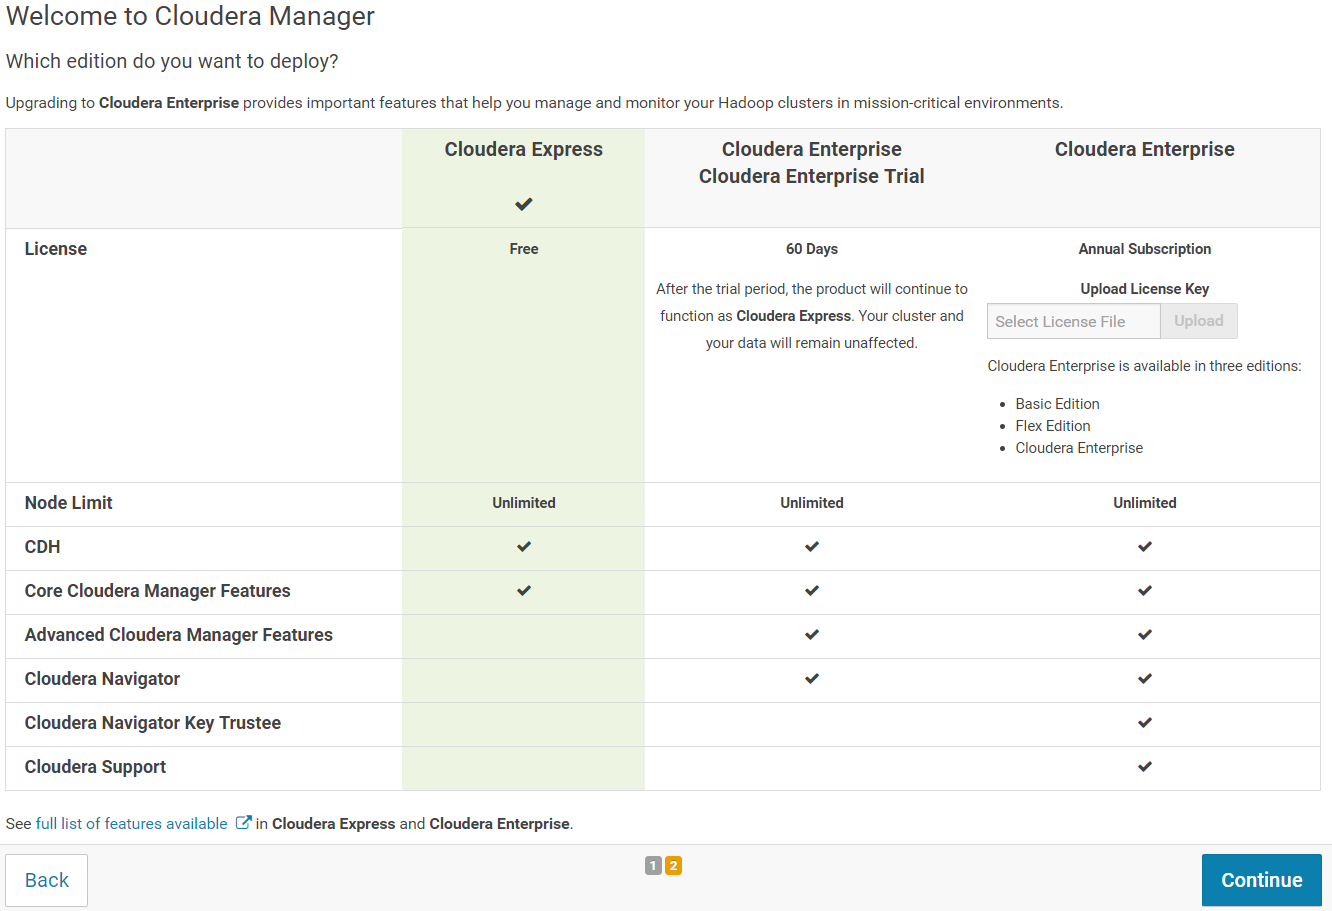
On the next page, you can choose the edition of Cloudera Manager you want to install. Select "Cloudera Express" and click on "Continue".
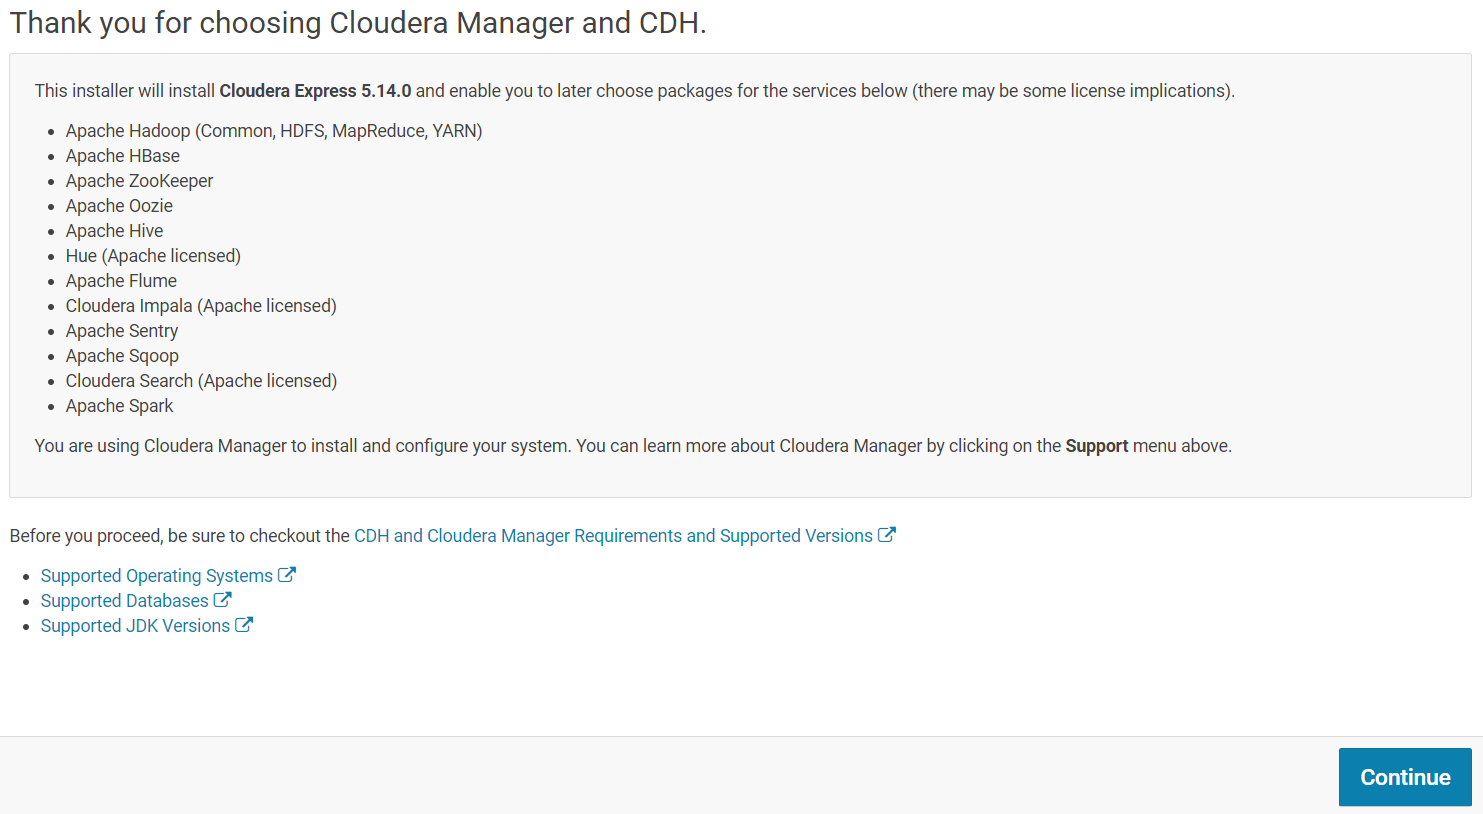
On the next screen, click on "Continue" to start the Cloudera Manager wizard.
Follow the wizard steps to finish installing your Cloudera on your cluster.
Use the Cloudera Manager Wizard for Software Installation and Configuration
Use Cloudera Manager to search for cluster hosts that will run CDH and managed services. Enter in the public IP addresses of your EC2 instances.
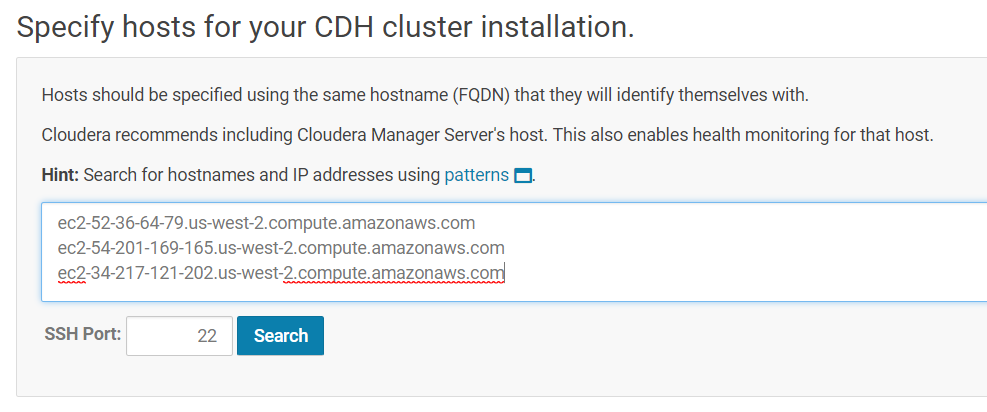
Remember you can find those IP addresses from your AWS Console in EC2 service, Instances section:
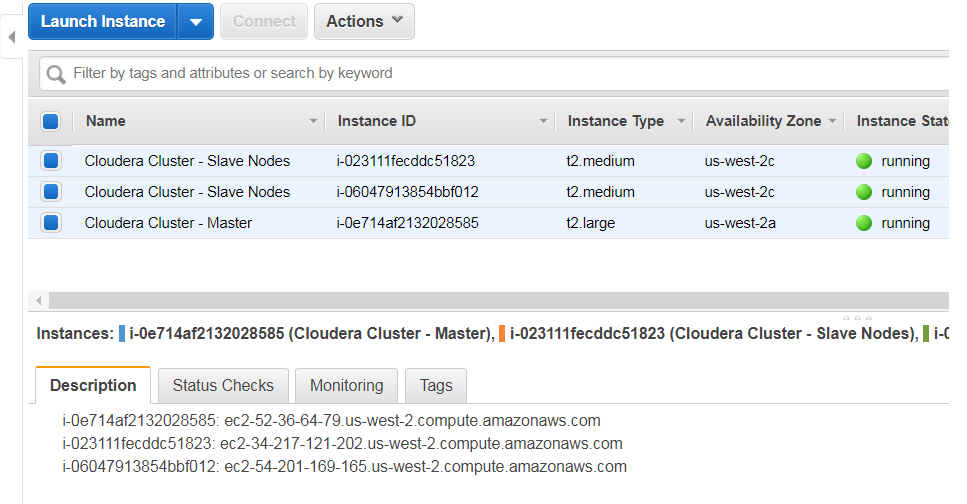
Once you have entered the IP addresses, click on "Search" for Cloudera Manager to identify the hosts on your cluster that are ready to be configured with CDH services. Once done, you should see a screen similar to the following:
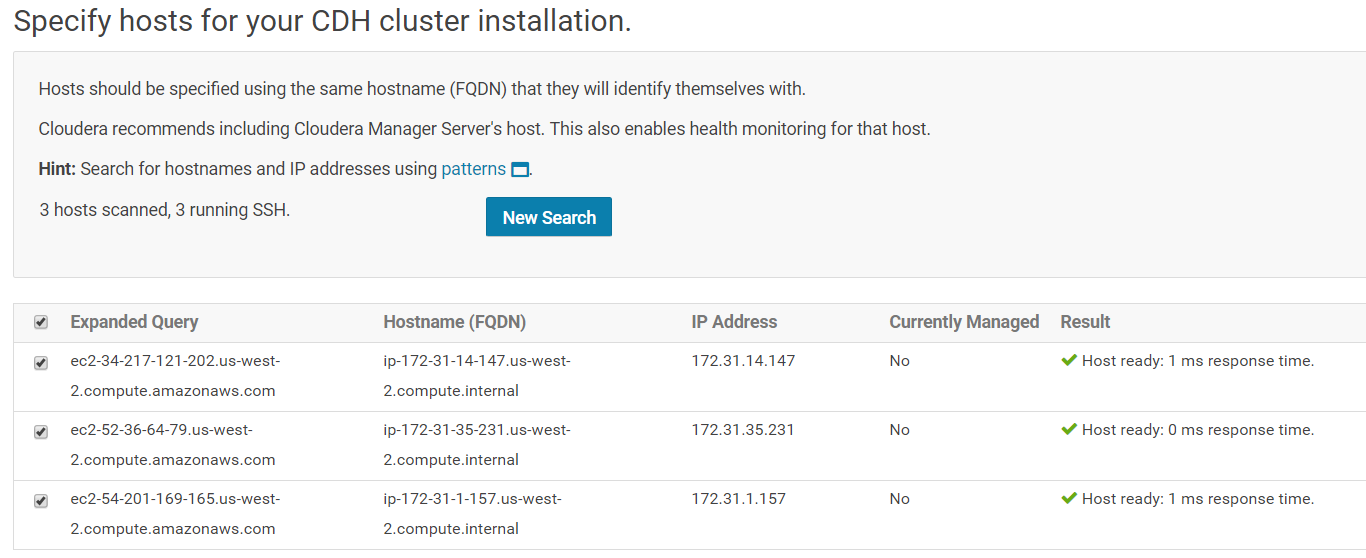
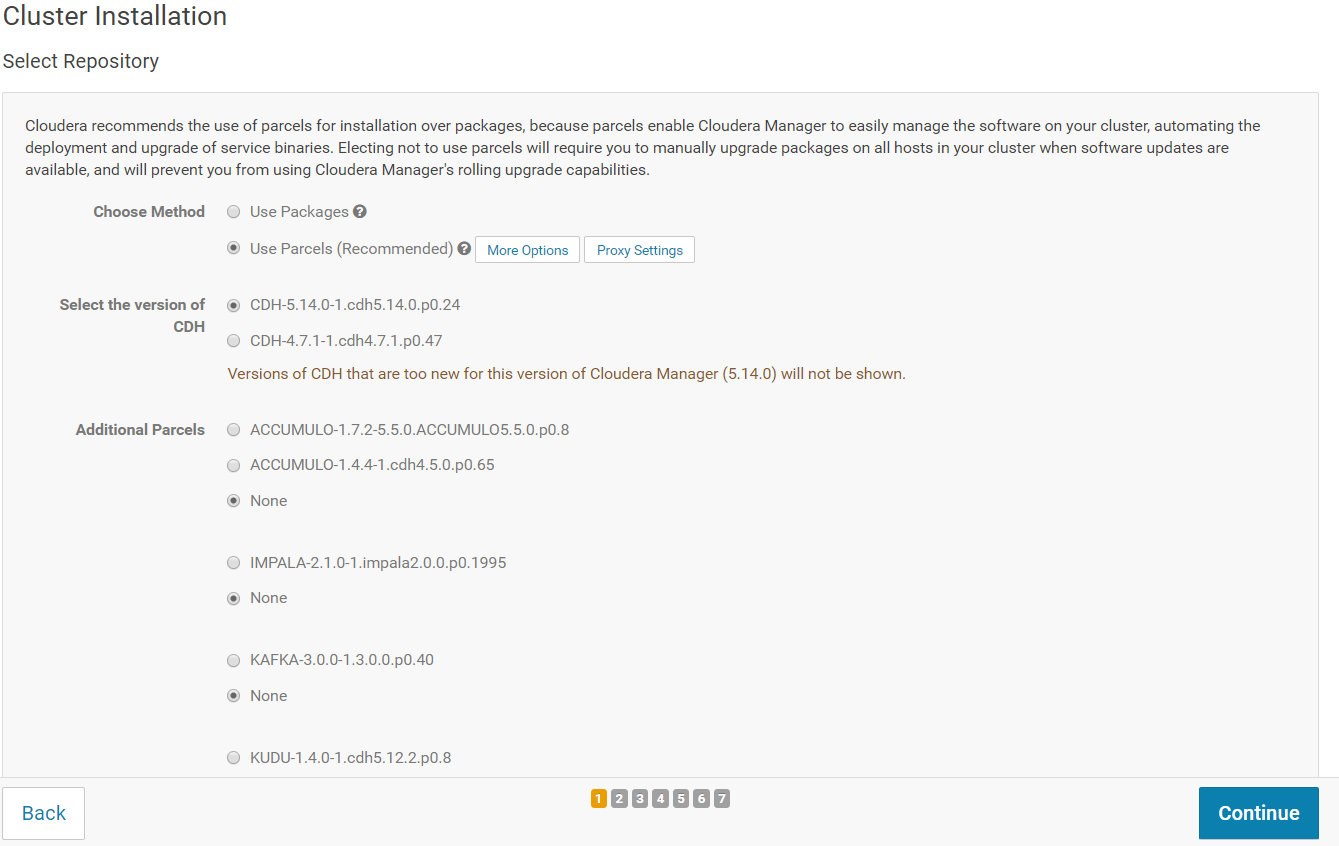
After the hosts have been identified, you can select the installing method. Select "Use Parcels" if not already selected and click on "Continue".
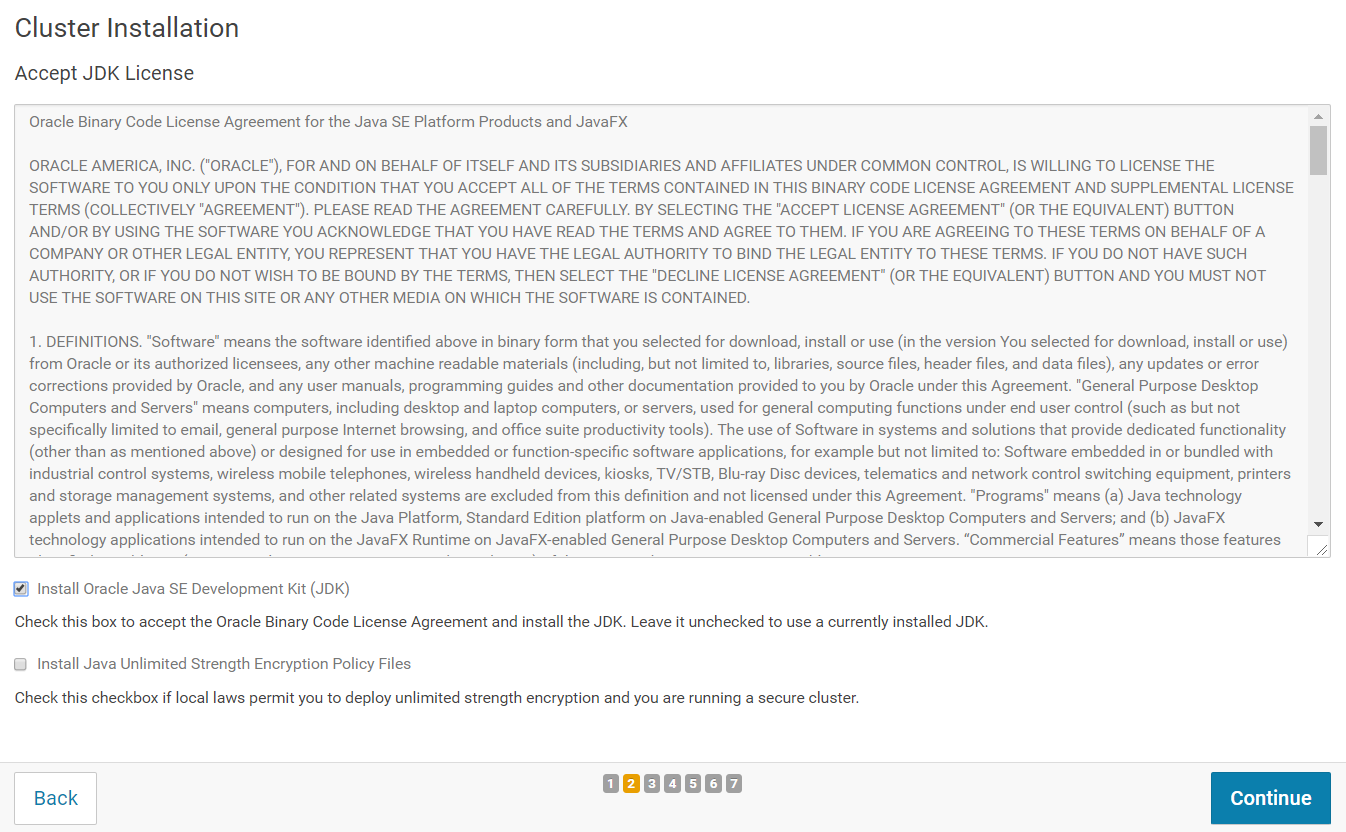
On the next screen, make sure you select "Install Oracle Java SE Development Kit (JDK)". You do not need to select "Install Java Unlimited Strength Encryption Policy Files". Click on "Continue".
On the next screen, click on "Continue".

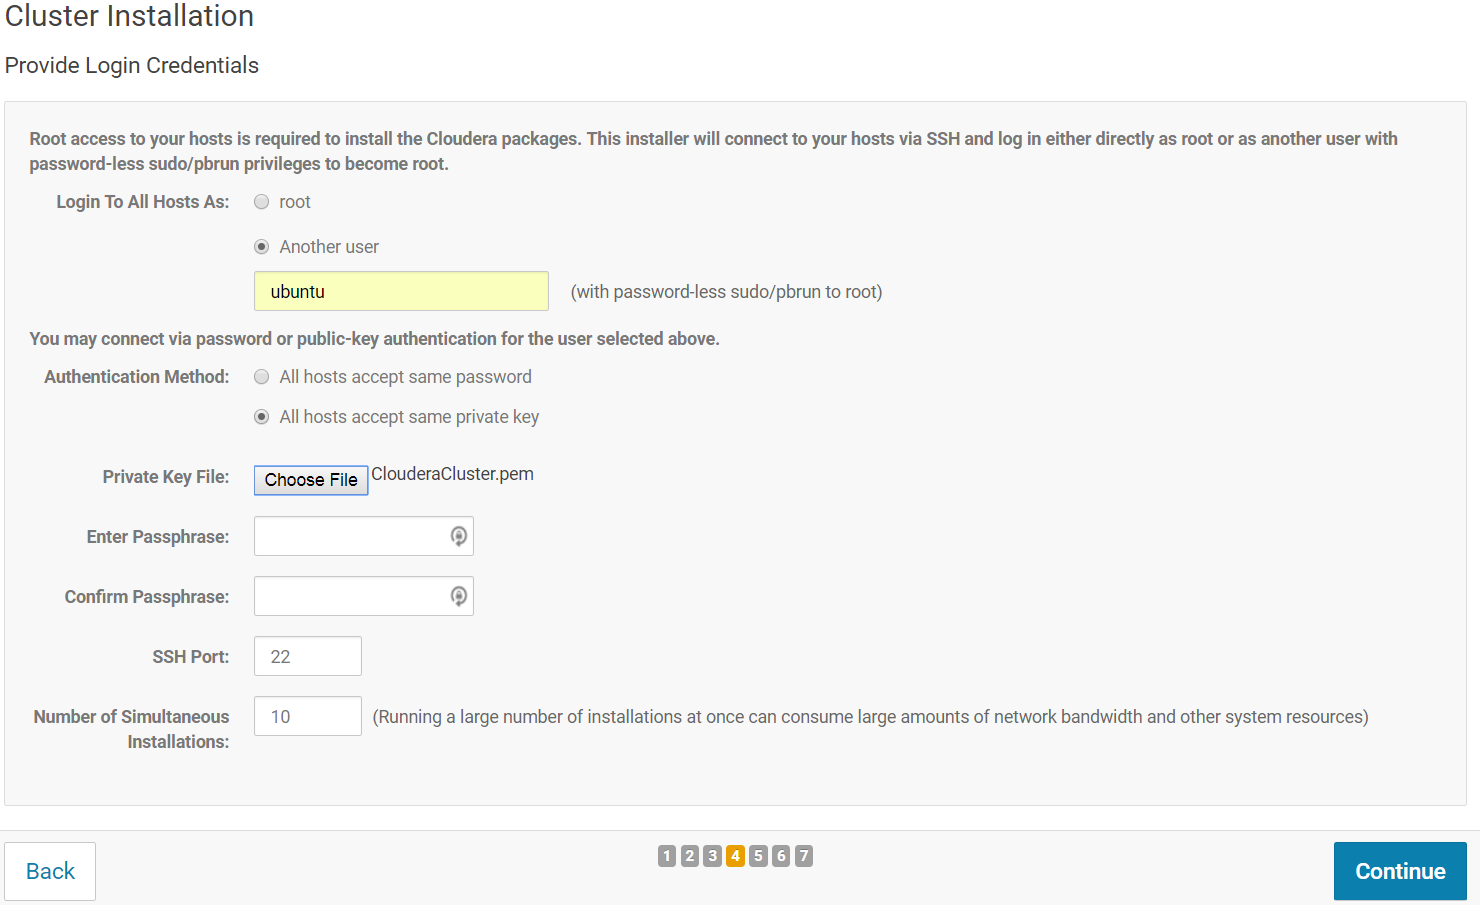
On the next screen, you should provide Cloudera Manager with SSH credentials. Select "Another user" and type in "ubuntu" (same login used to SSH to your EC2 instance). For the Authentication method, select "All hosts accept same private key" and for the Private Key File, select your EC2 private key (Windows users: use the .pem file, not the .ppk one).
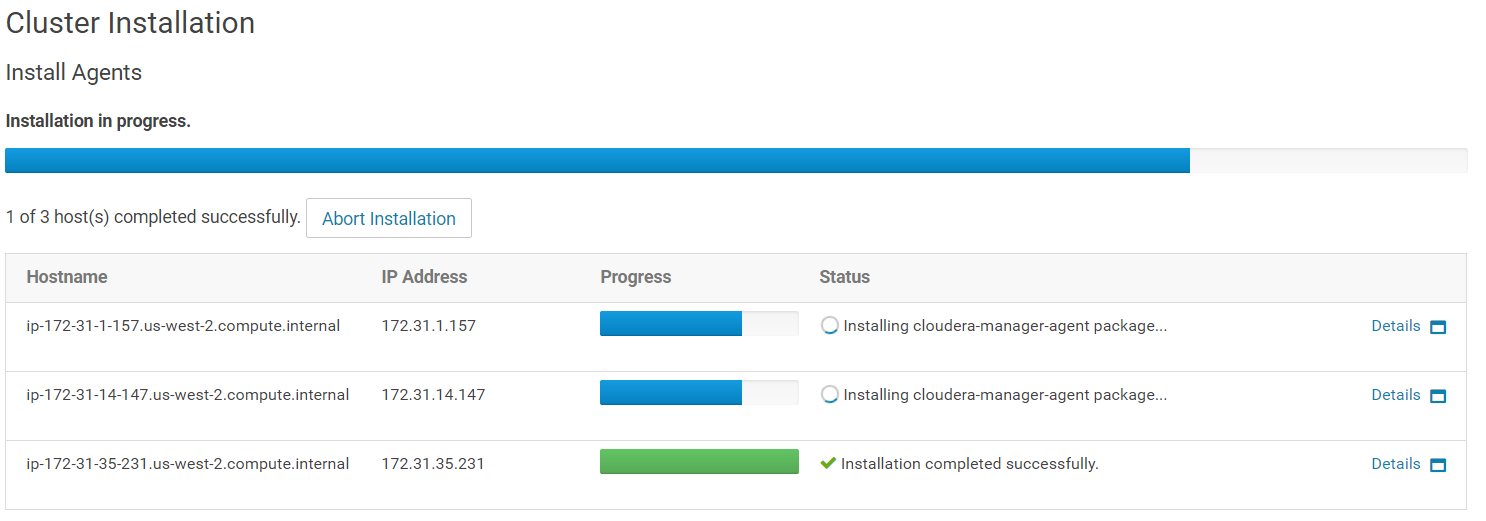
On the next screen, the Install agents will be downloaded and installed on all hosts. Wait for the installation to succeed on all instances (all green). Once done, click on "Continue".
Then the parcels that you selected earlier will be installed. Once done, click on "Continue".

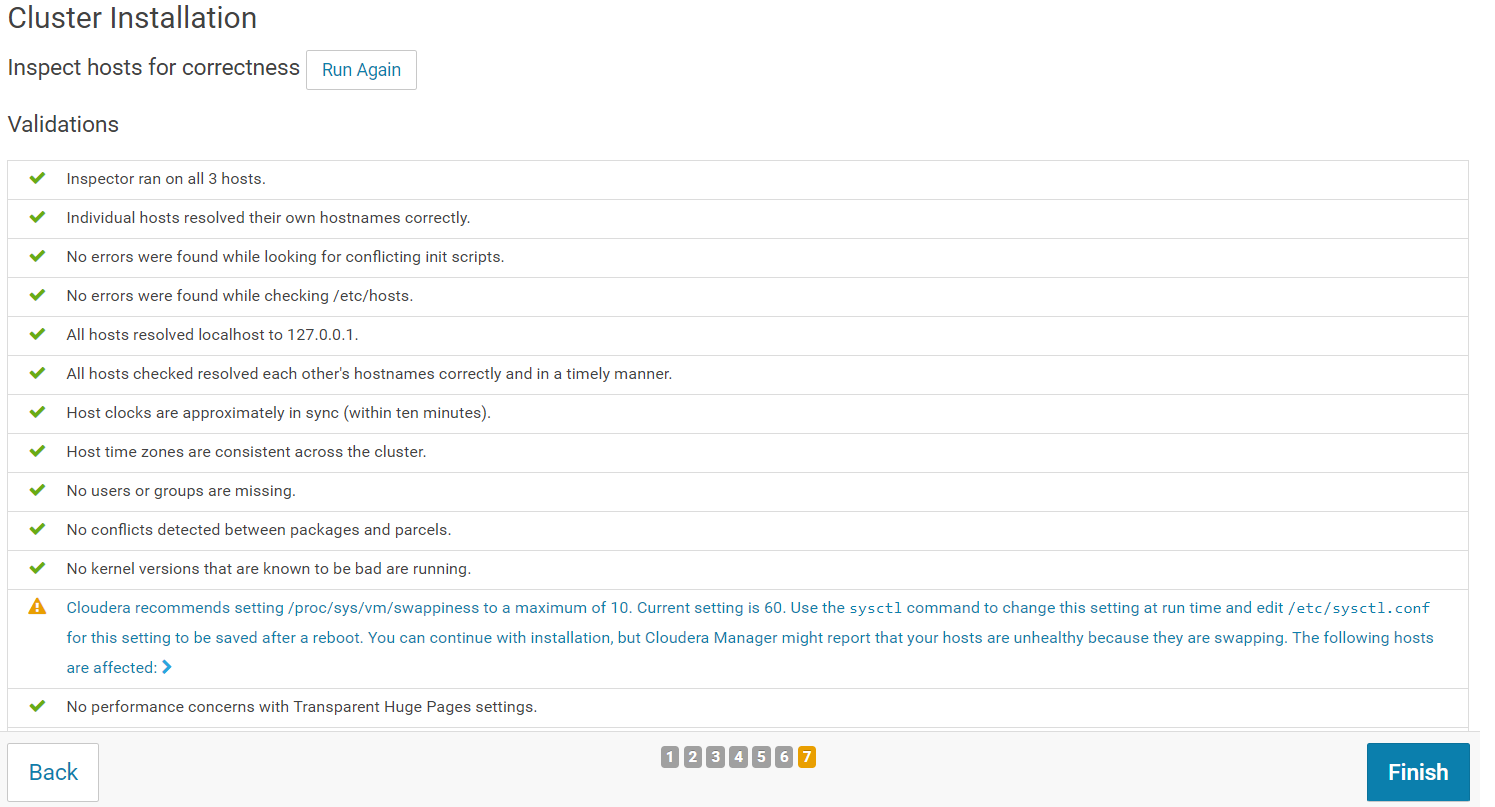
The Host Inspector will now validate the installation and provides a summary of the results. Click on "Finish".
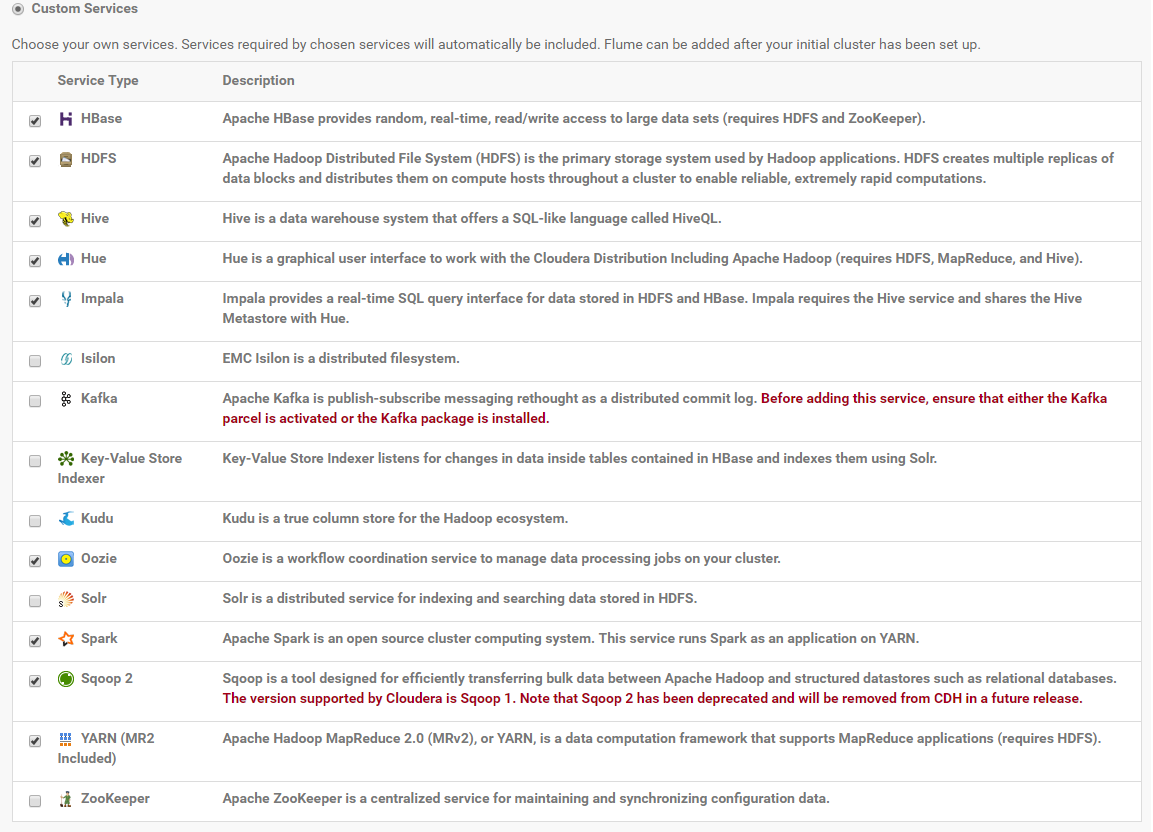
On the first page of the Add Services wizard, choose the combination of services to install. You can for example select "Custom Services" and choose the following services: HBase, HDFS, Hive, Hue, Impala, Oozie, Spark, Sqoop2, YARN.
Click on "Continue".
The next screen lets you customize the role of each host of your cluster. In our case, make sure that the "Master" node or "NameNode" or "Gateway" node, etc… are all pointed to the instance that we chose as t2.large.
If the IPs shown in CDH installer are not the t2.large instance for the master/namenode/gateways, then change it so that it points to the t2.large instance.
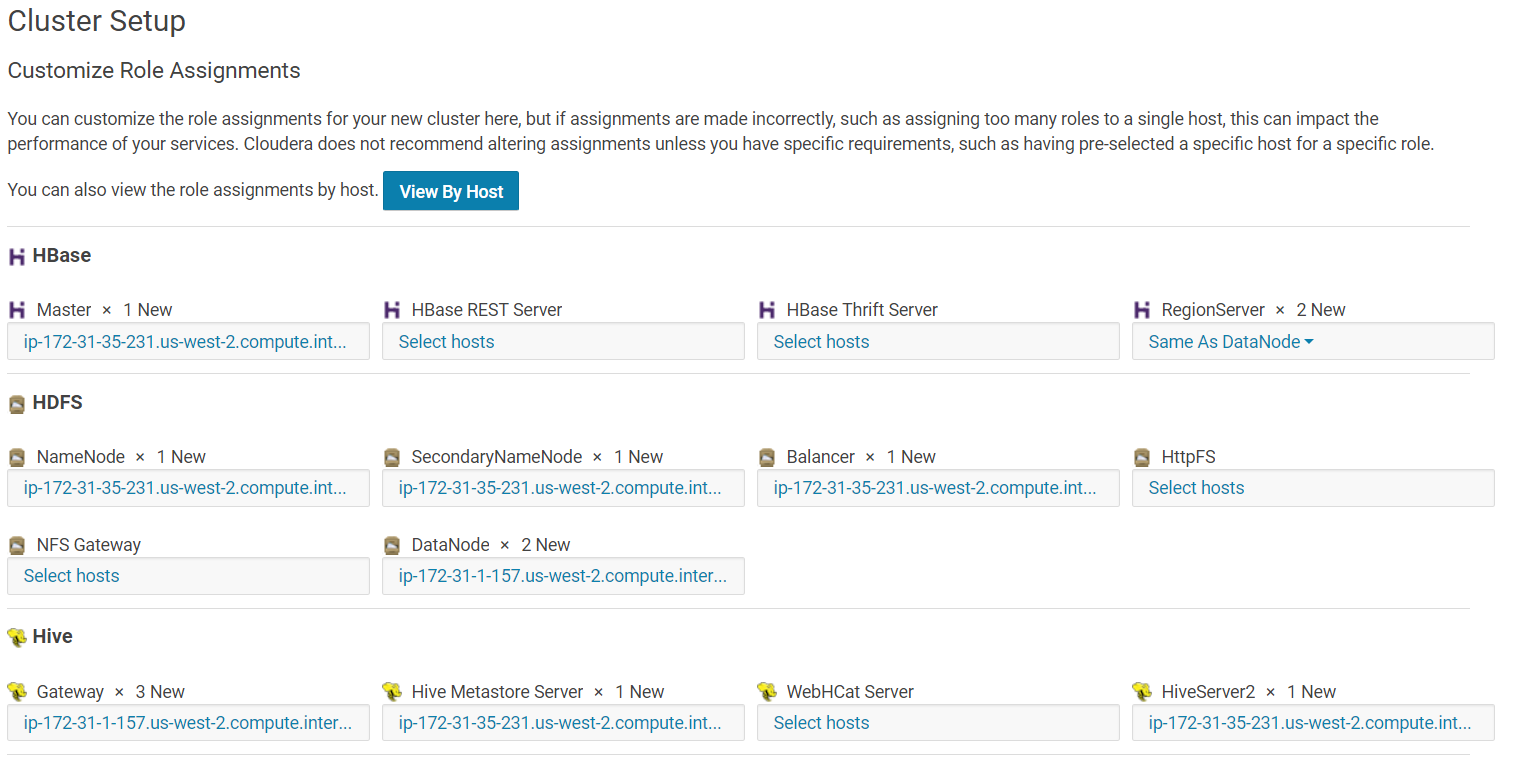
The View By Host should look like this:

Click on "Continue".
On the next screen, Keep the default setting of "Use Embedded Database"to have Cloudera Manager create and configure required databases. Record the auto-generated passwords.
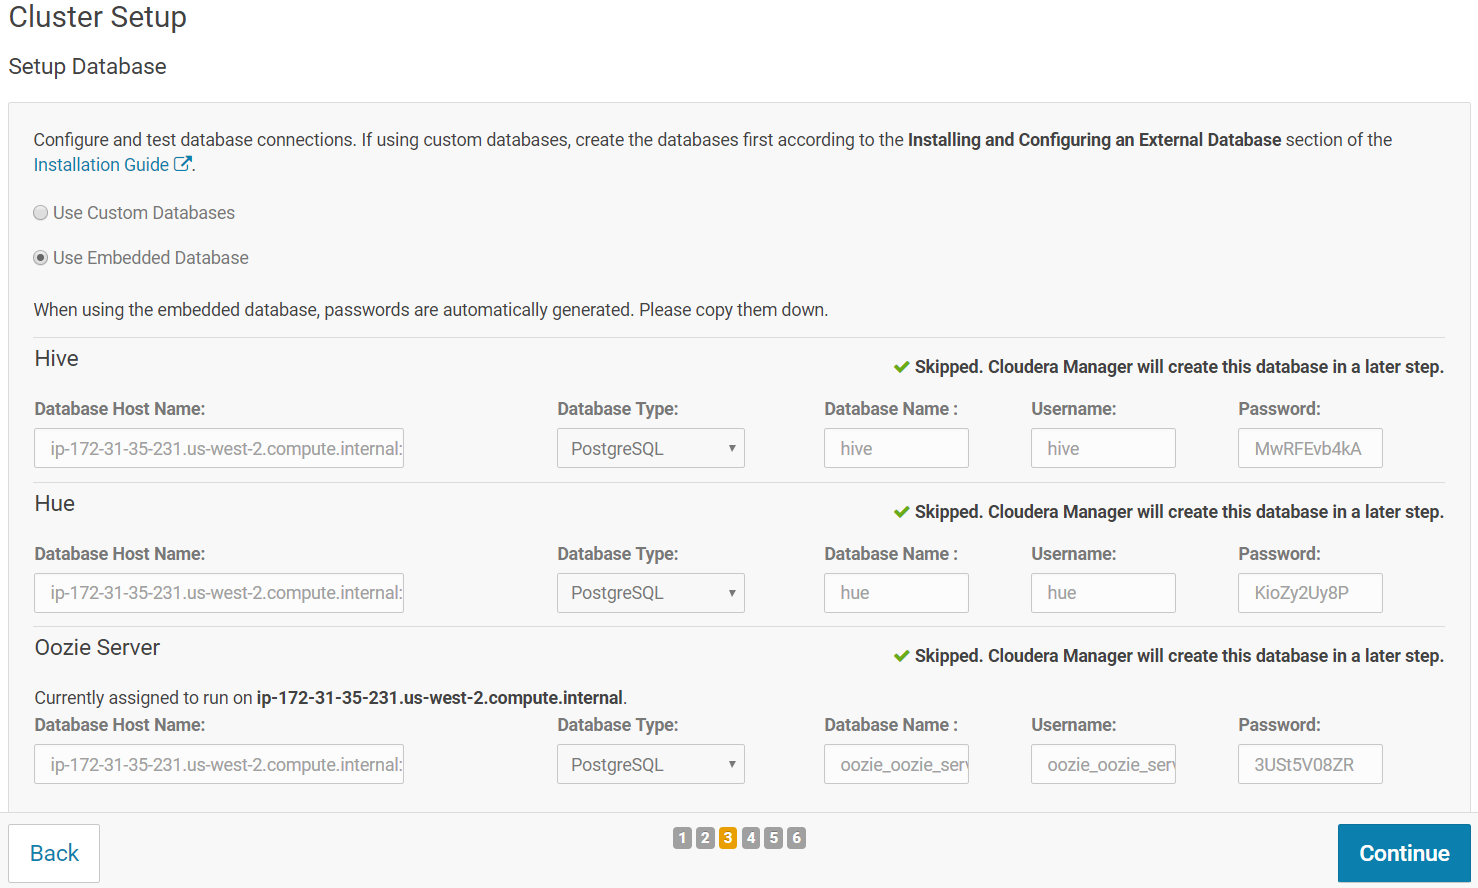
Click "Test Connection", when all the tests are successful/skipped the "Continue" button turns blue. Click "Continue".
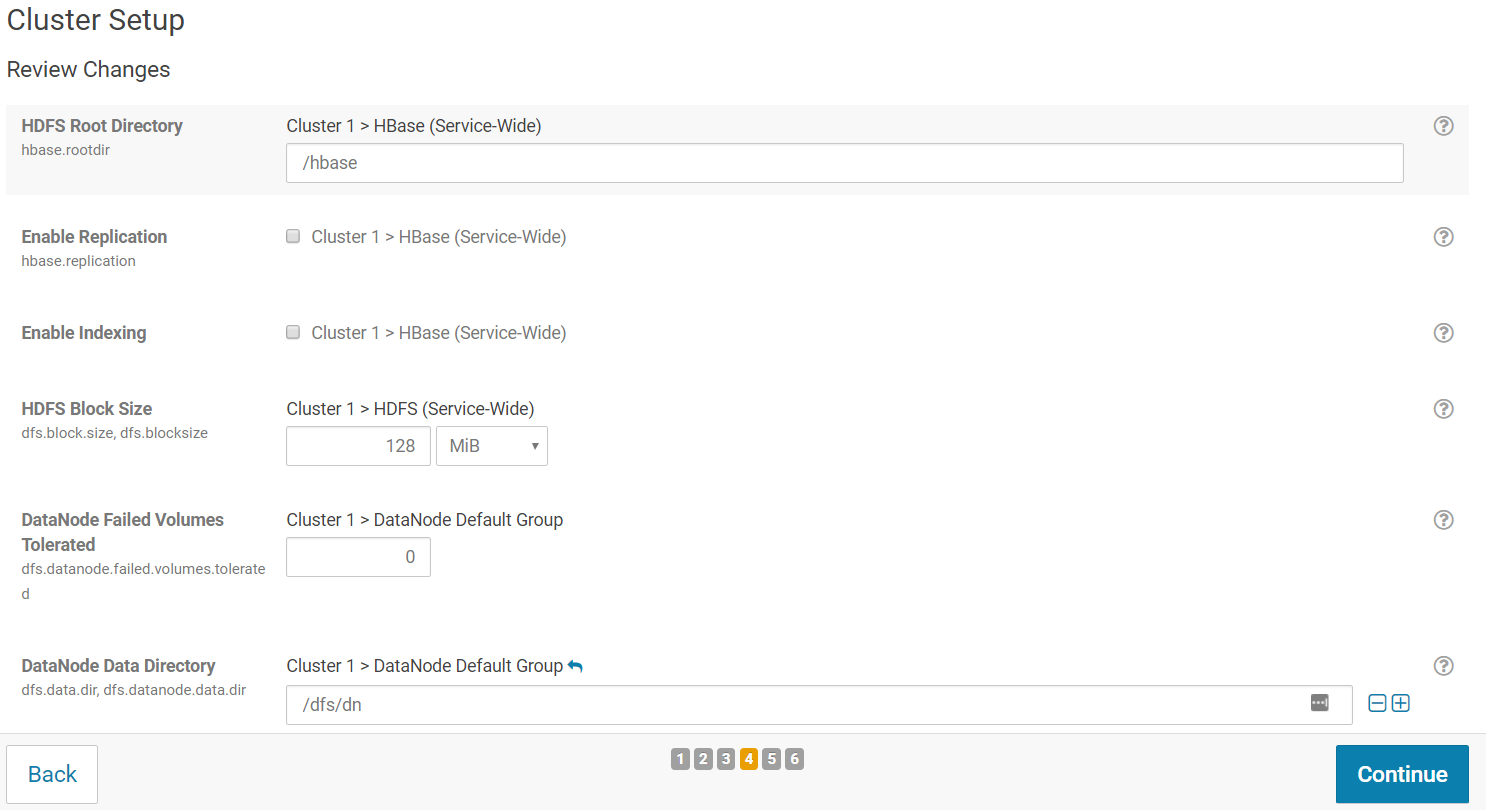
On the next screen, you should be able to apply any configuration change for your cluster. You can keep all default options and click "Continue".
The wizard starts a First Run of the services. When all of the services are started, click "Continue".
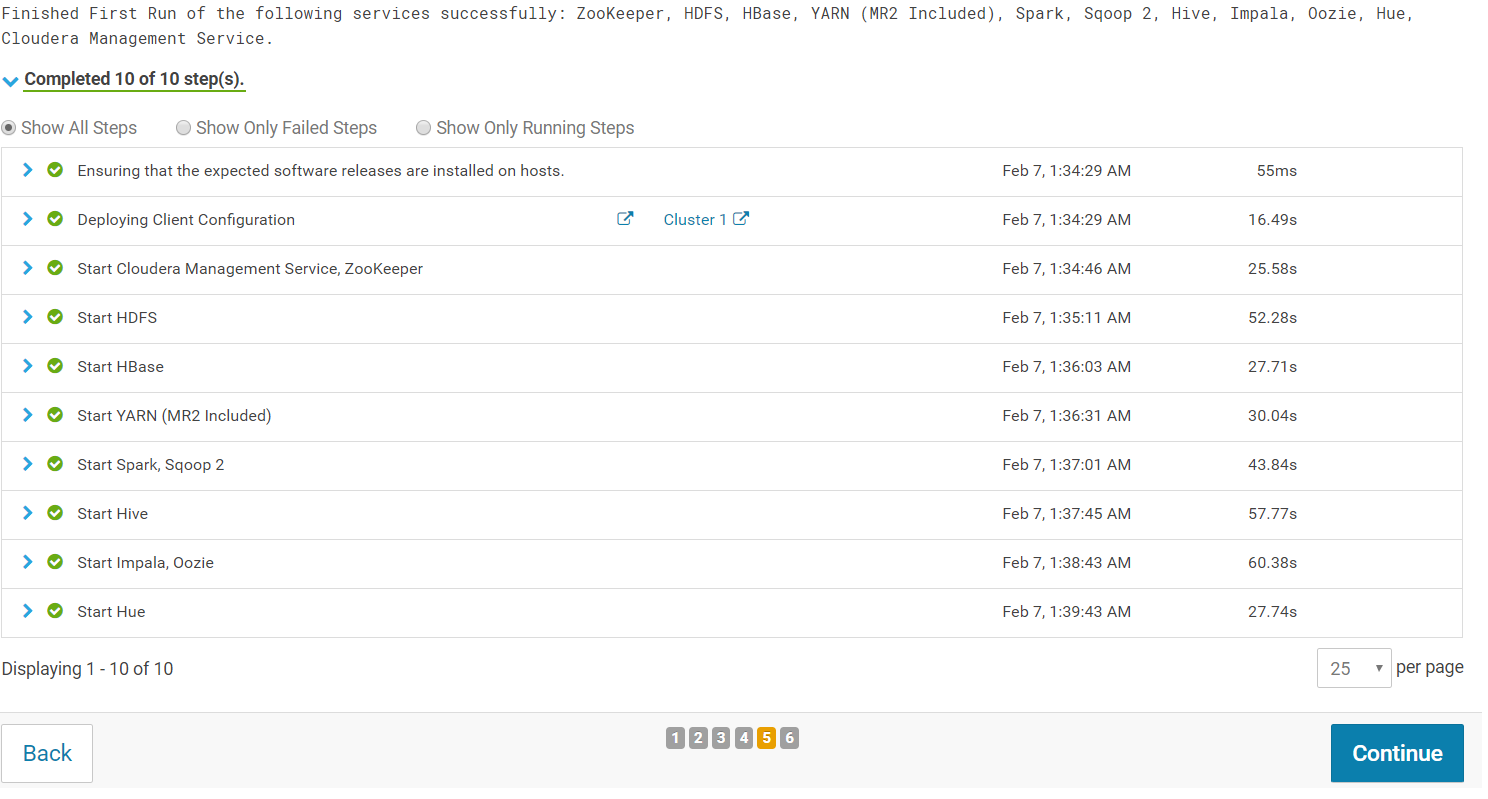
You will see a success message indicating that your cluster has been successfully started:

Your Hadoop cluster has now been successfully installed!
Cloudera Manager and Hue
Cloudera Manager
After the installation of your Hadoop cluster has been successful, you will be redirected to the Cloudera Manager Admin Console.
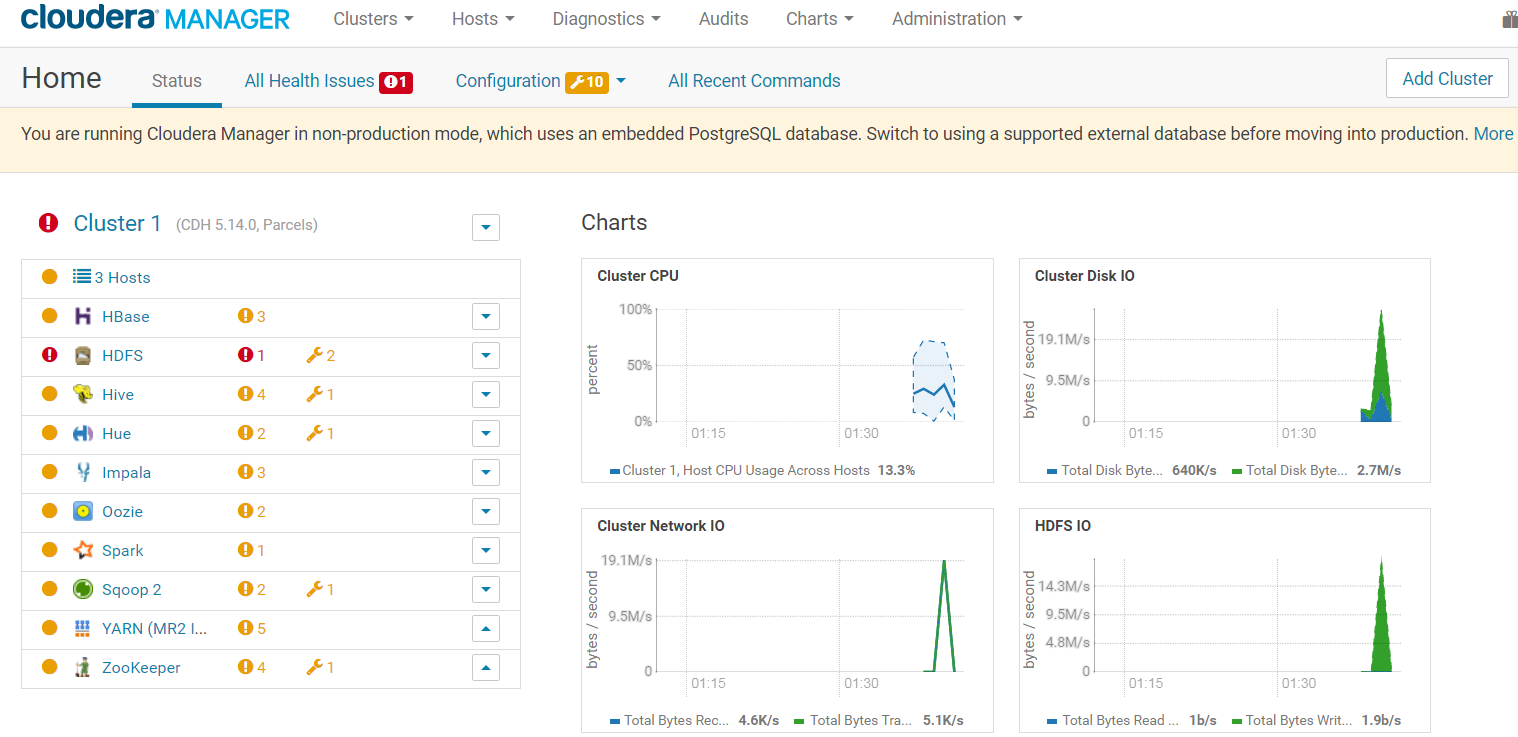
A good practice is to update the administrator password. Click the logged-in username at the far right of the top navigation bar and select "Change Password".Enter the current password and a new password twice, and then click "OK".
Hue
You can access Hue, Hadoop User Experience, in a web browser with the URL:
http://server_host:8889
Which can be for example:
http://ec2-52-36-64-79.us-west-2.compute.amazonaws.com:8889
As your first login, you will be requested to choose a Hue superuser login and password:
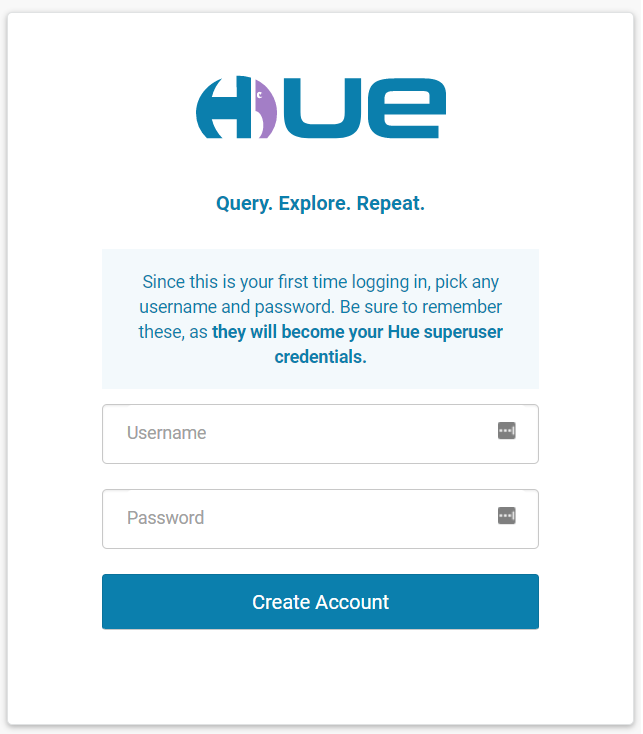
As the default user for our local file system is ubuntu, let's name our HUE superuser ubuntu as well.
After your Hue superuser account has been created, you will be directed to Hue main screen:

YARN Containers Memory
Something worth checking before running any task or job, particularly with small clusters with not-so-powerful machines, is the Container Memory size in YARN. A Container in YARN represents a resource (memory and vcores) on a single node at a given cluster. Containers perform tasks.
In the Cloudera Manager, click on Clusters on the top menu and select YARN.
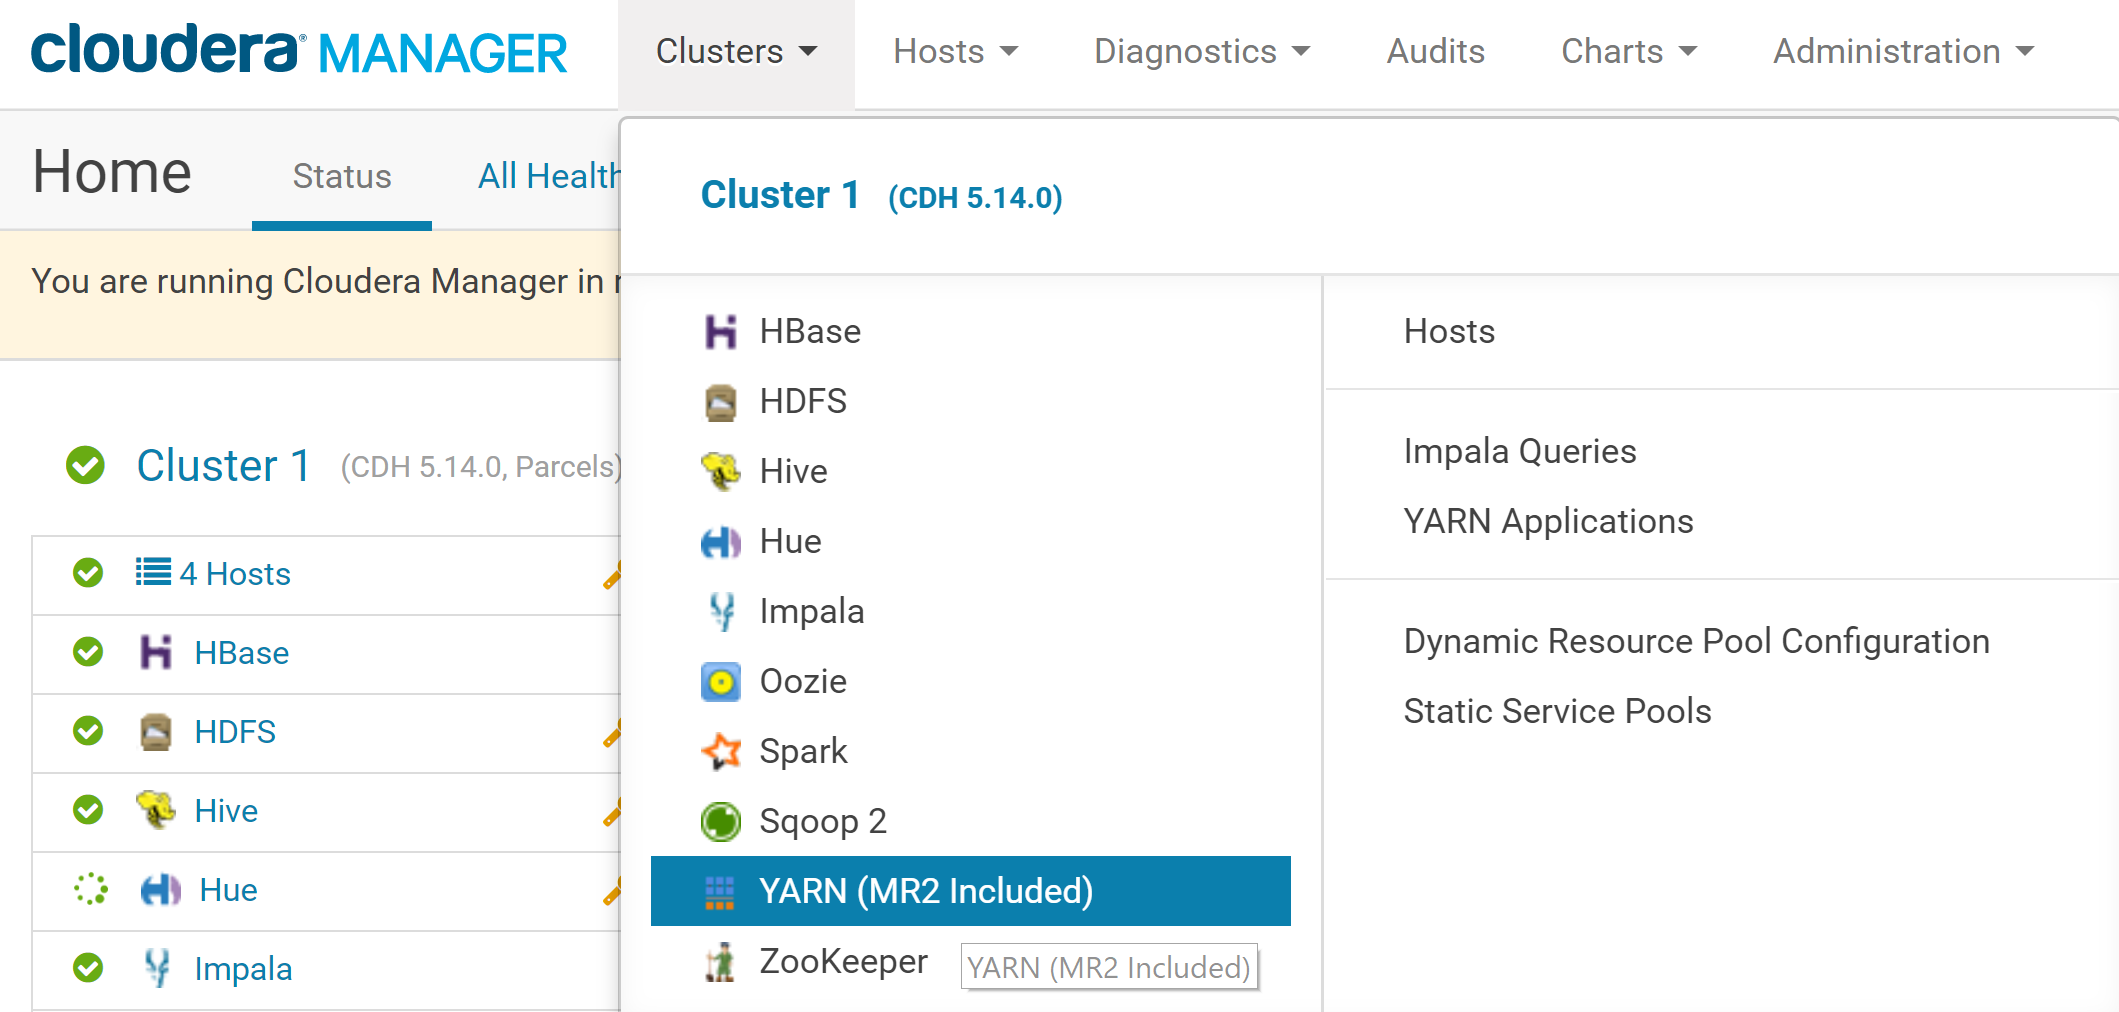
In the YARN menu, click on Configuration. In the search box just below, type memory container.
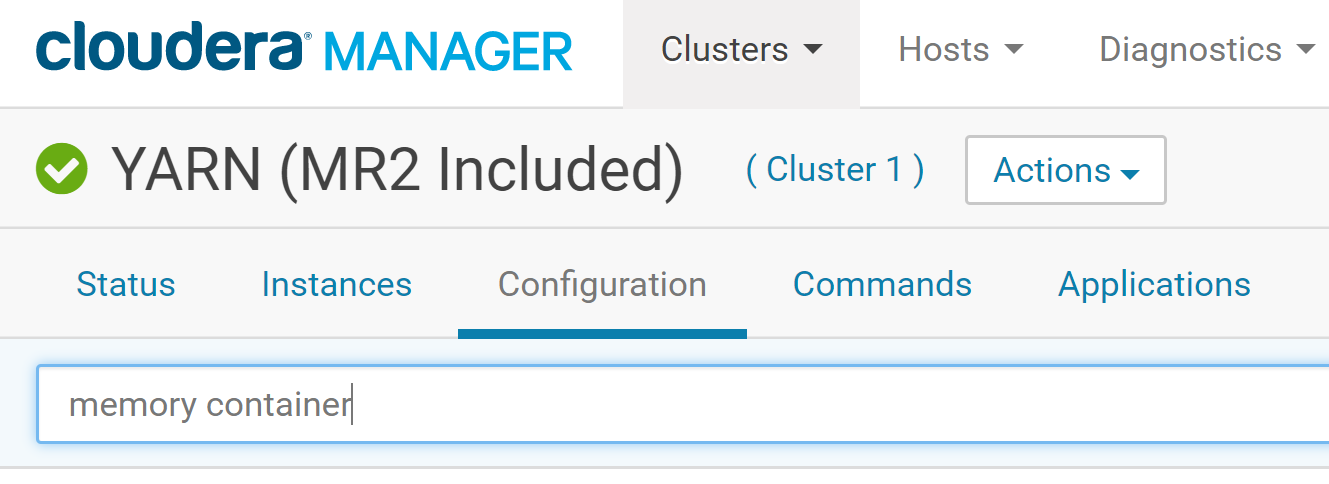
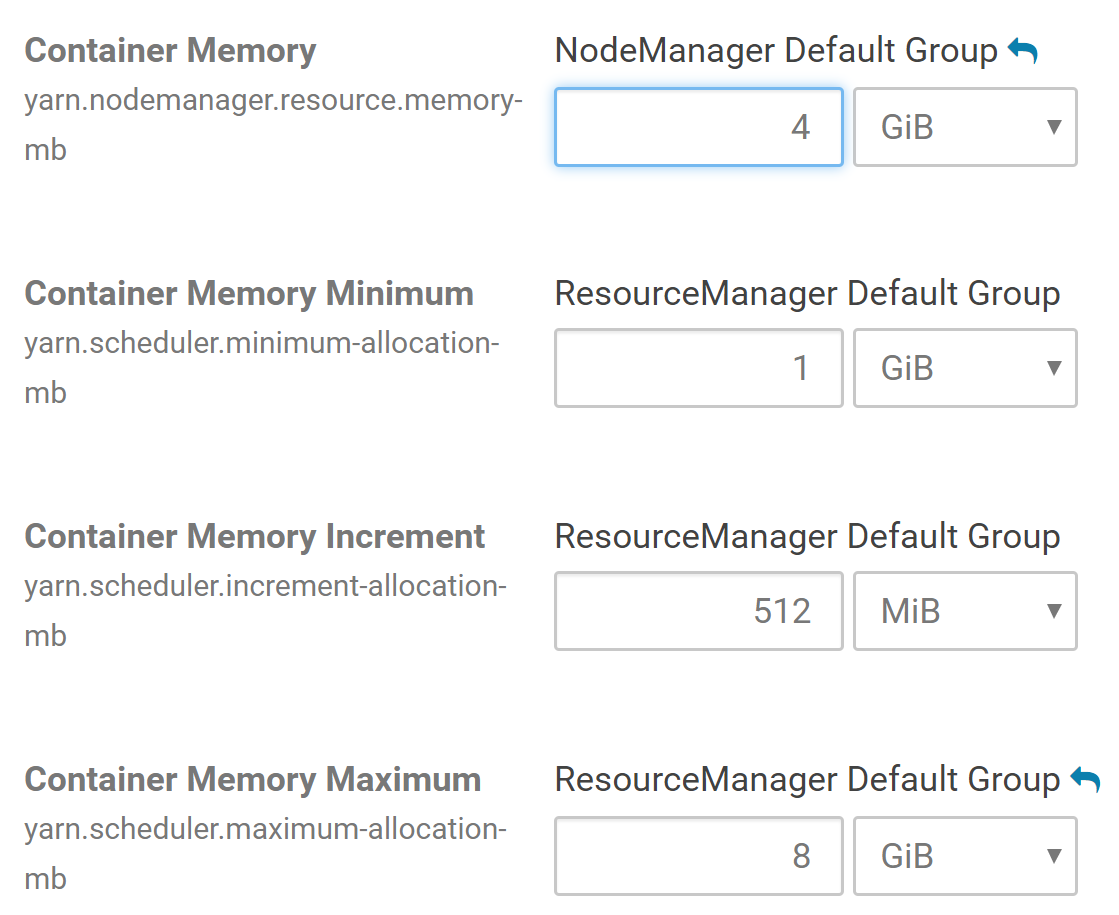
We should now see a list of cluster configuration items, including, Container Memory, Container Memory Minimum, Container Memory Maximum, etc.
Make sure that the value for the Container Memory field is at least 4 GB (this might be 1 GB by default if your EC2 instances have less than 8 GB memory). You can also set the Container Memory Maximum at 8 GB. Choose those values depending on the memory of your EC2 instances.
More details on Containers here:
Tuning YARN | 5.14.x | Cloudera Documentationwww.cloudera.com