Create a Databricks CE account
Databricks is a managed platform for running Apache Spark providing automated cluster management and IPython-style notebooks.
We can try Databricks for no cost using the Community Edition. To create an account for Databricks CE, follow the below steps:
- Open Chrome or Firefox.
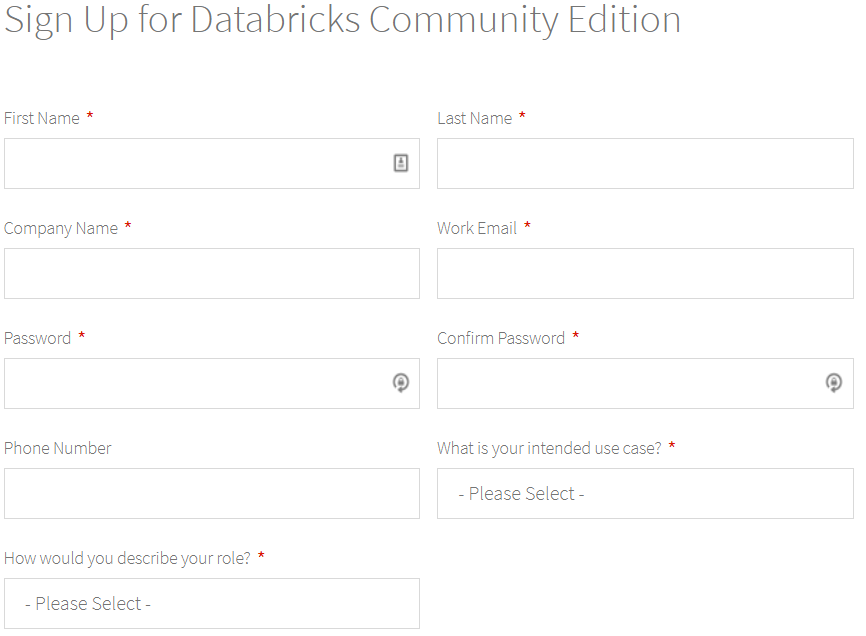
- Navigate to https://accounts.cloud.databricks.com/registration.html#signup/community
- Fill in the form
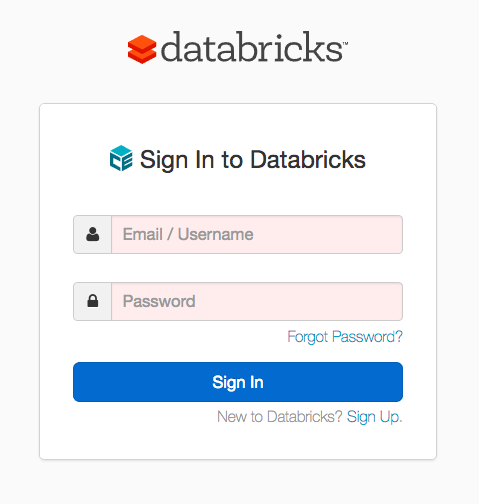
- Sign in with your email address and password.
Explore Databricks
The following items define the fundamental tools that Databricks provides to the end user:
Workspaces: allow you to organize all the work you are doing on Databricks, like a folder structure in your computer. Used to store Notebooks and Libraries.
Notebooks: set of any number of cells that allow you to execute commands.
Libraries: packages or modules that provide additional functionality that you need to solve your business problems.
Tables: structured data used for analysis.
Clusters: groups of computers that you treat as a single computer. Clusters allow you to execute code from Notebooks or Libraries on a set of data.
We will explore first explore Clusters and Notebooks.
Create a Spark cluster
Databricks notebooks are backed by clusters, or networked computers that work together to process your data.
To create a Spark cluster, follow the below steps:
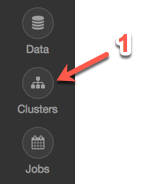
- In the left sidebar, click Clusters
Click Create Cluster

Name your cluster
Select the cluster type. It is recommended to use the latest runtime (3.3, 3.4, etc.) and Scala 2.11
Click the Create Cluster button

Create a new Notebook
Create a new notebook in your home folder:
- In the sidebar, select the Home
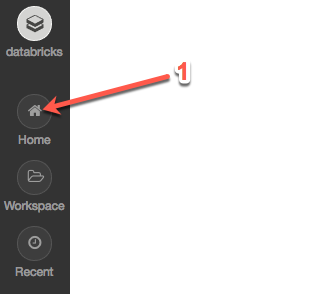
Right-click your home folder
Select Create
Select Notebook

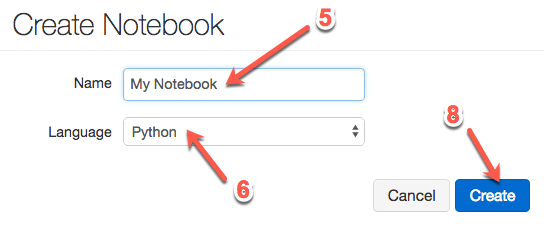
Name your notebook
Set the language to Python
Select the cluster to attach this Notebook (NOTE: If a cluster is not currently running, this option will not exist)
Click Create. Your notebook is created
Run a notebook cell
Now you have a notebook, you can use it to run code.
In the first cell of your notebook, type:
1+1Run the cell by clicking the run icon and selecting Run Cell or simply by typing Ctrl-Enter.

If your notebook was not previously attached to a cluster you might receive the following prompt:
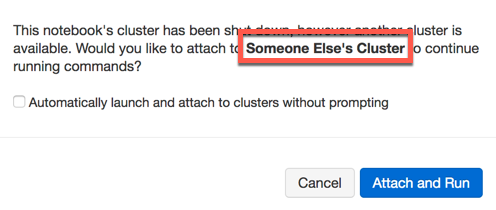
If you click Attach and Run, first make sure you attach to the correct cluster.
If your notebook is detached, you can attach it to another cluster:

Import a Notebook
Import the lab files into your Databricks Workspace:
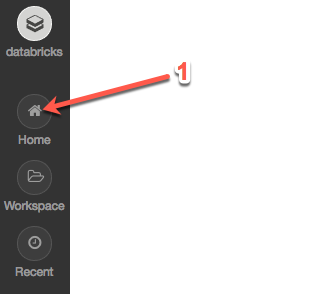
- In the left sidebar, click Home.
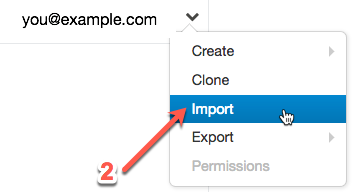
Right-click your home folder, then click Import.
In the popup, click URL.
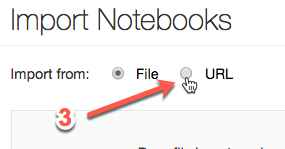
Paste the following URL into the text box:
https://s3-us-west-1.amazonaws.com/julienheck/hadoop/7_spark/demo_spark.dbc
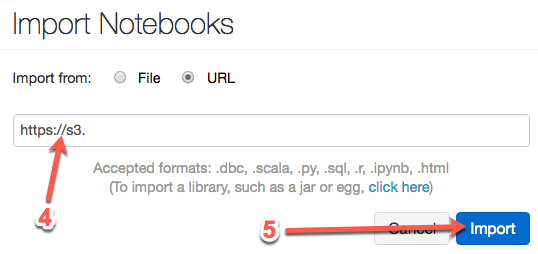
Click the Import button. The import process may take a couple of minutes to complete.
Notebook usage
A notebook is comprised of a linear sequence of cells. Python code cells allow you to execute arbitrary Python commands just like in any Python shell. Place your cursor inside the cell below, and press "Shift" + "Enter" to execute the code and advance to the next cell. You can also press "Ctrl" + "Enter" to execute the code and remain in the cell.
#This code can be run in a Python cell.
print('The sum of 1 and 1 is {0}').format(1+1)

# Another example with a variable (x) declaration and an if statement:
x = 42
if x > 40:
   print('The sum of 1 and 2 is {0}').format(2+2)
As you work through a notebook it is important that you run all of the code cells. The notebook is stateful, which means that variables and their values are retained until the notebook is detached (in Databricks) or the kernel is restarted (in IPython notebooks). If you do not run all of the code cells as you proceed through the notebook, your variables will not be properly initialized and later code might fail. You will also need to rerun any cells that you have modified in order for the changes to be available to other cells.
# This cell relies on x being defined already.
# If we didn't run the cell above this code would fail.
print x * 2