HBase browser in HUE
Add HBase Thrift Server role
The Thrift Server role is not added by default when you install HBase, but it is required before you can use certain other features such as the Hue HBase browser.
Follow the below steps to add the Thrift Server role:
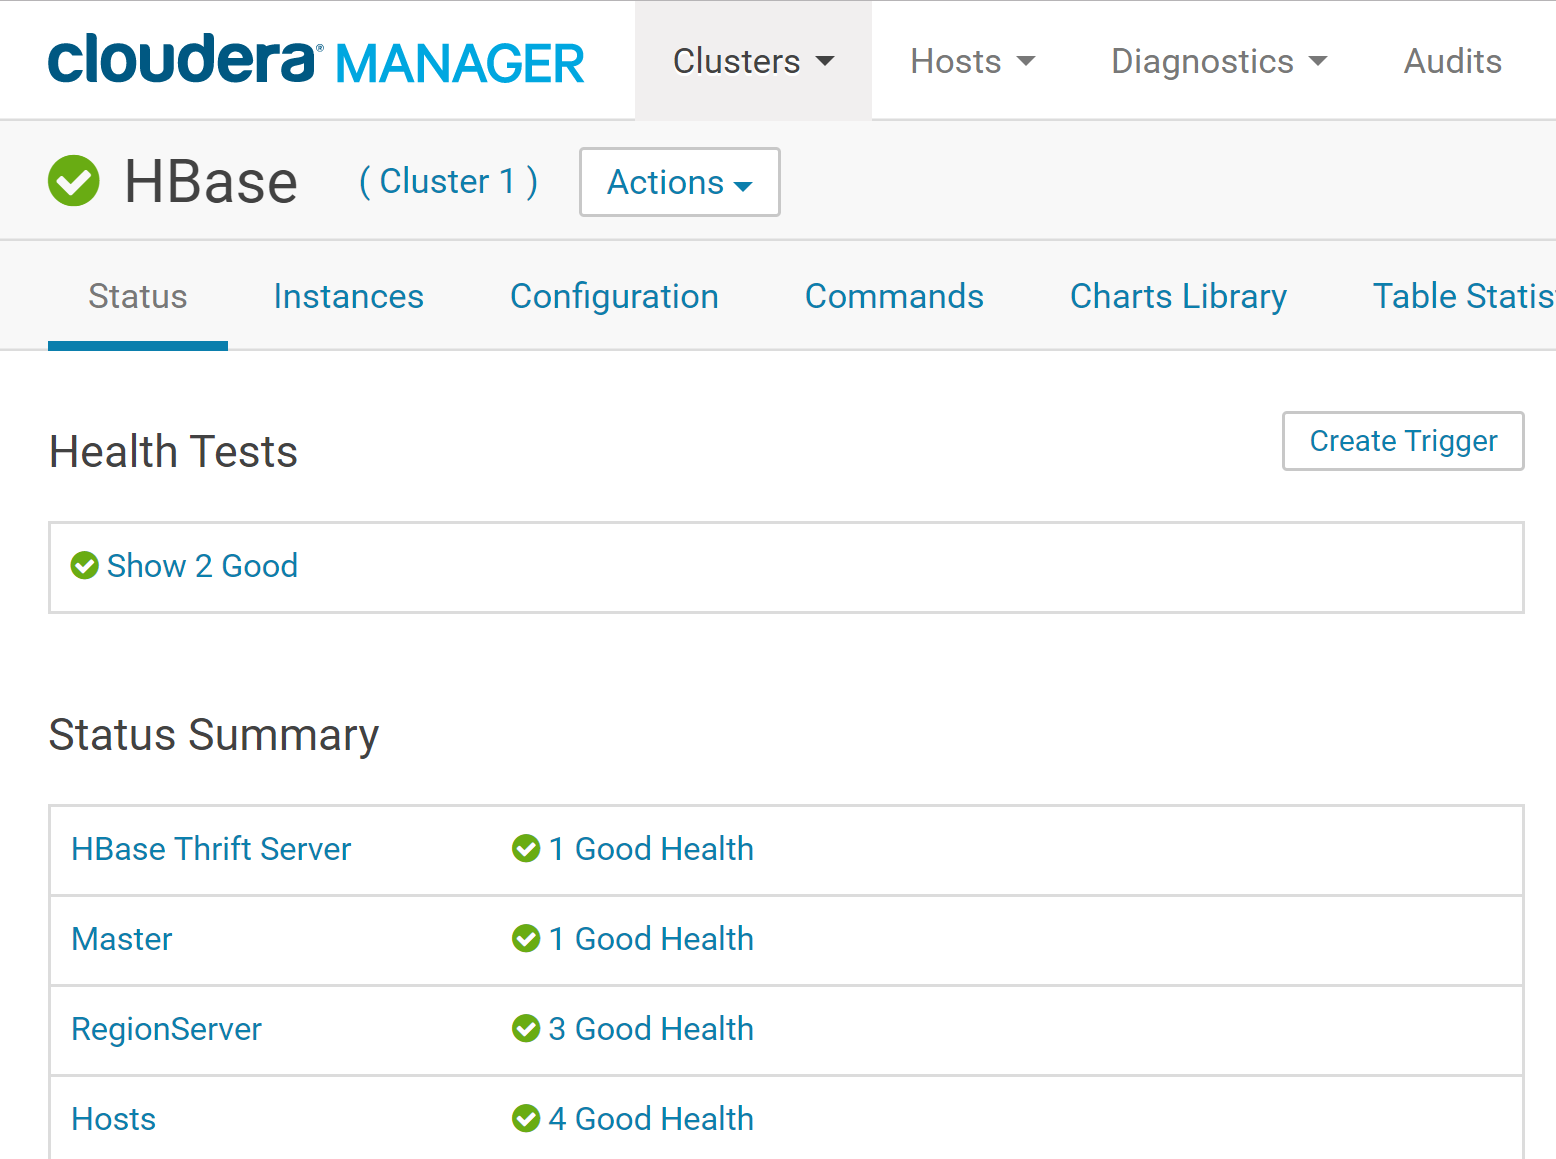
In Cloudera Manager, go to the HBase service:
Click the Instances tab.:
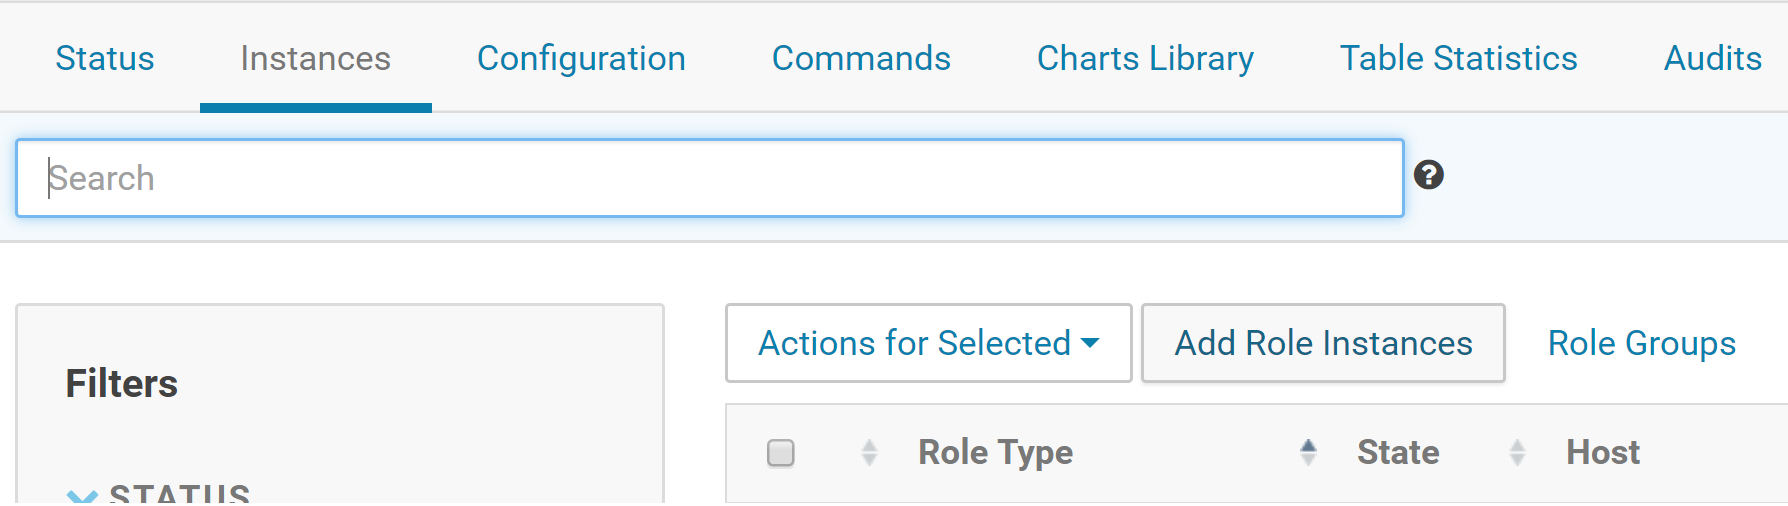
Click the Add Role Instances button.
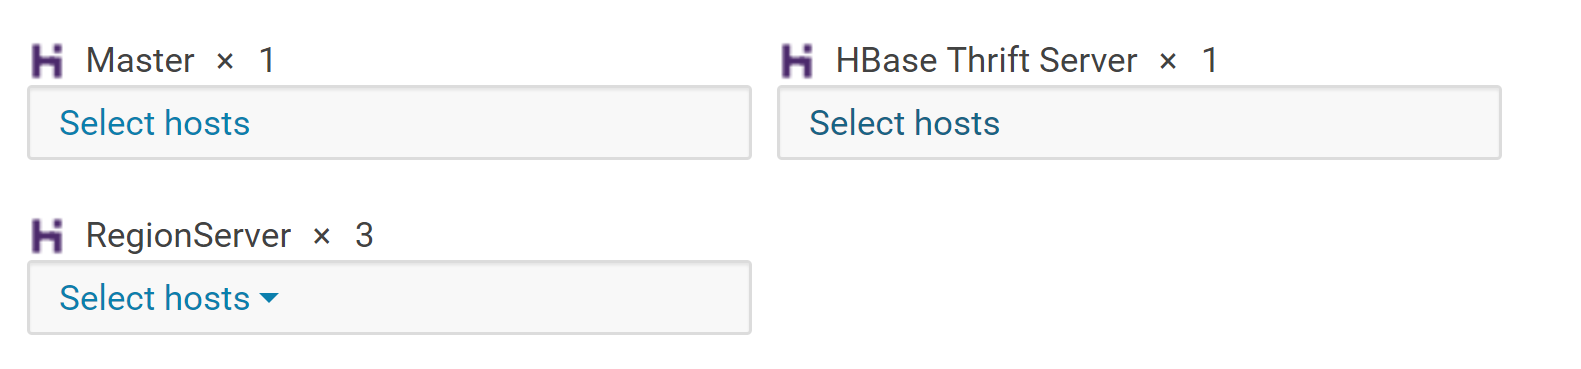
Select the host(s) where you want to add the Thrift Server role (you only need one for Hue) and click Continue. The Thrift Server role should appear in the instances list for the HBase server.

Select the Thrift Server role instance.
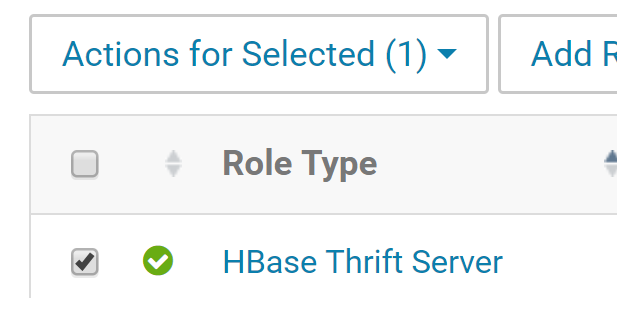
Select Actions for Selected > Start.
Configure Hue to point to the Thrift Server
In Cloudera Manager, select the Hue service.
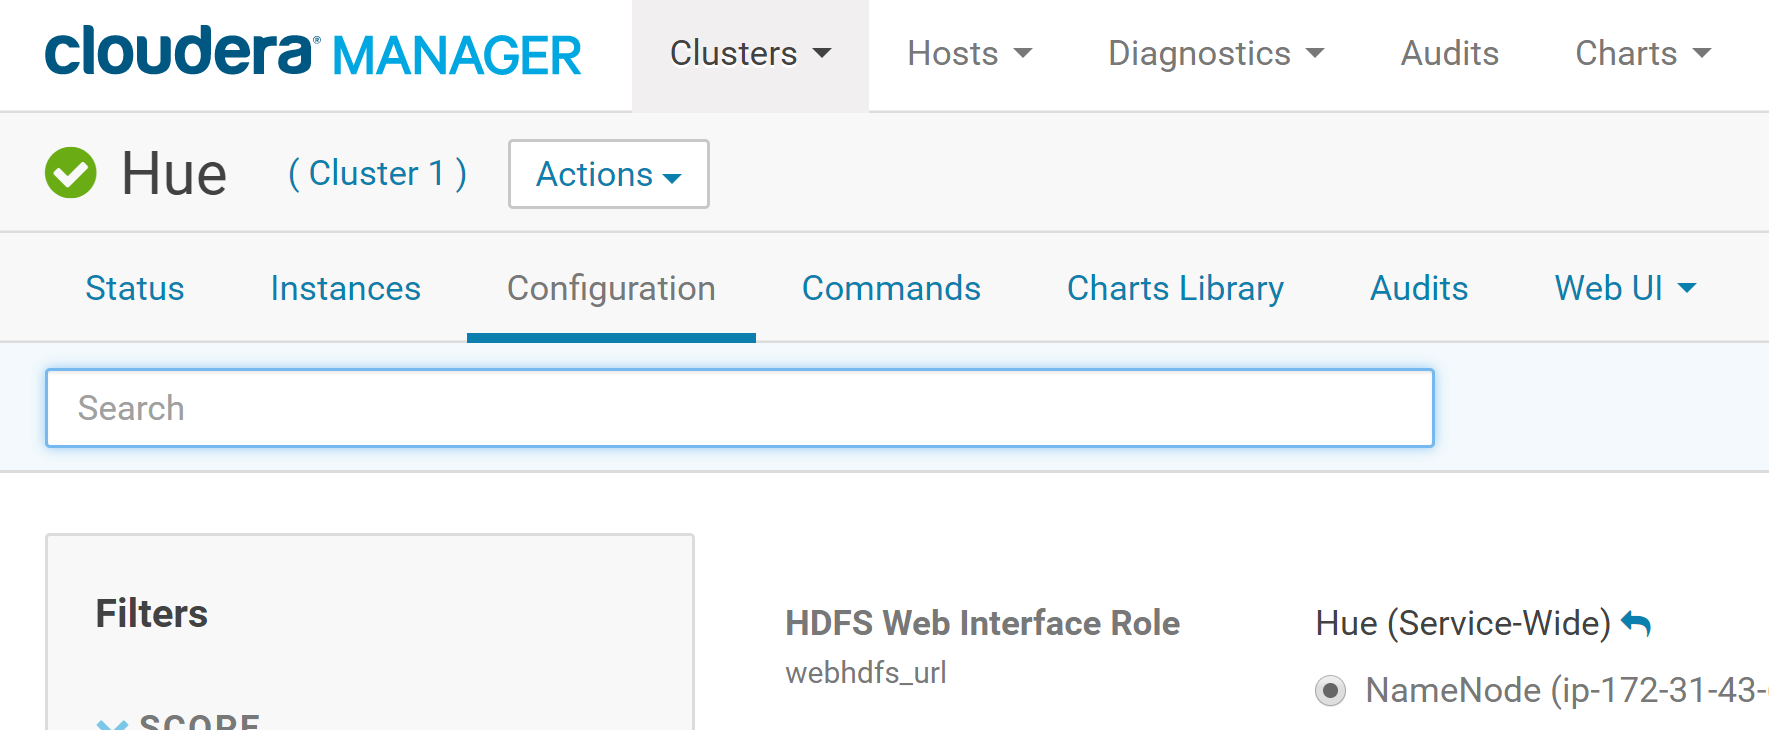
Click the Configuration tab.
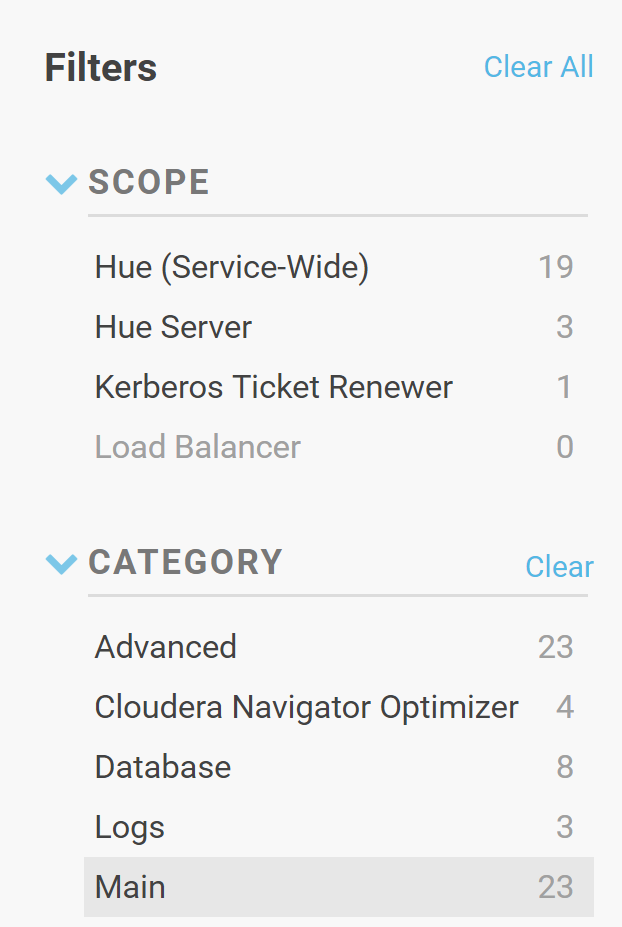
Select Scope > All.
Select Category > Main.
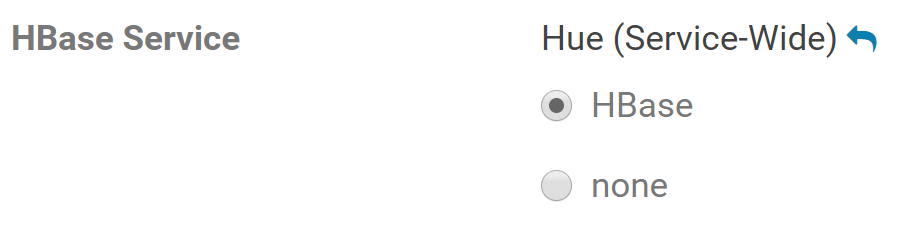
For the HBase Service property, make sure it is set to the HBase service for which you enabled the Thrift Server role (if you have more than one HBase service instance).
In the HBase Thrift Server property, click the edit field and select the Thrift Server role for Hue to use.

Select Category > Advanced.
Locate the Hue Service Advanced Configuration Snippet (Safety Valve) for hue_safety_valve.ini property and add the following property:
[hbase]
hbase_conf_dir=/etc/hbase/conf

Click Save Changes to commit the changes.
Demo HBase
Connect to your cluster using SSH and run the HBase shell:
hbase shell

Create a new HBase table with two column families (cf1 and cf2) using the following statement:
create 'my-hbase-table', \
{NAME => 'cf1' , VERSIONS => 3}, \
{NAME => 'cf2'}
VERSIONS => 4 means we want to keep 4 versions maximum of this column.
The subsequent put statements insert data into a cell as defined by the row key (rowkey1 or rowkey2, in this case) and a column specified in the format <column_family>:<column_name>.
Unlike a traditional database, the columns are not defined at table design time and are not typed.
put 'my-hbase-table', 'rowkey1', 'cf1:fname', 'John'
put 'my-hbase-table', 'rowkey1', 'cf1:lname', 'Doe'
put 'my-hbase-table', 'rowkey2', 'cf1:fname', 'Jeffrey'
put 'my-hbase-table', 'rowkey2', 'cf1:lname', 'Aven'
put 'my-hbase-table', 'rowkey2', 'cf1:city', 'Hayward'
put 'my-hbase-table', 'rowkey2', 'cf2:photo', '<image>'
Enter the scan command to show the content of the table:
scan 'my-hbase-table'

The data inserted you see in the console can be conceptually viewed like this:

HBase supports sparsity. Not every column needs to exist in each row in a table and nulls are not stored.
Although HBase data is stored on HDFS, an immutable file system, HBase allows in-place updates to cells within HBase tables. It does this by creating a new version of the cell with a new time stamp if the column key already exists, and then a background compaction process collapses multiple files into a smaller number of larger files.
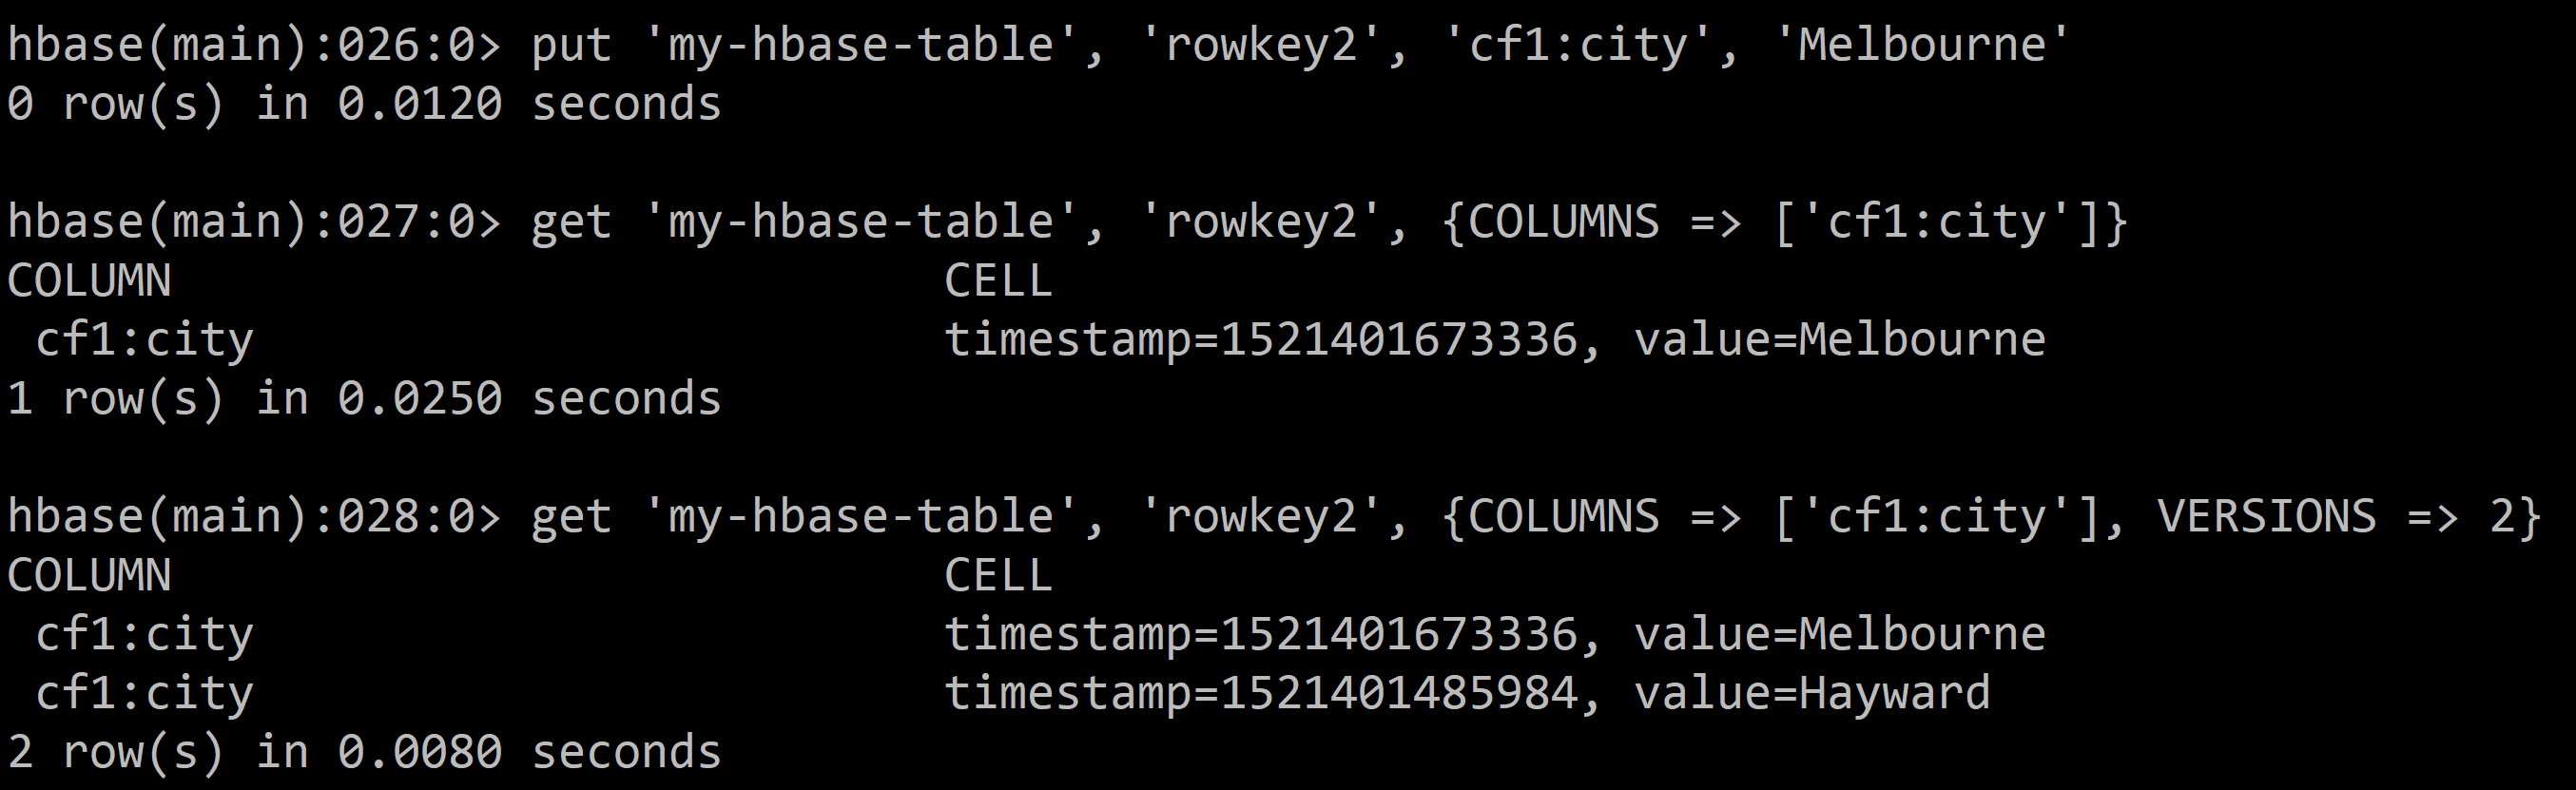
Update a cell:
put 'my-hbase-table', 'rowkey2', 'cf1:city', 'Melbourne'
Get the latest version of a cell:
get 'my-hbase-table', 'rowkey2', {COLUMNS => ['cf1:city']}
Get multiple versions of a cell:
get 'my-hbase-table', 'rowkey2', {COLUMNS => ['cf1:city'], VERSIONS => 2}
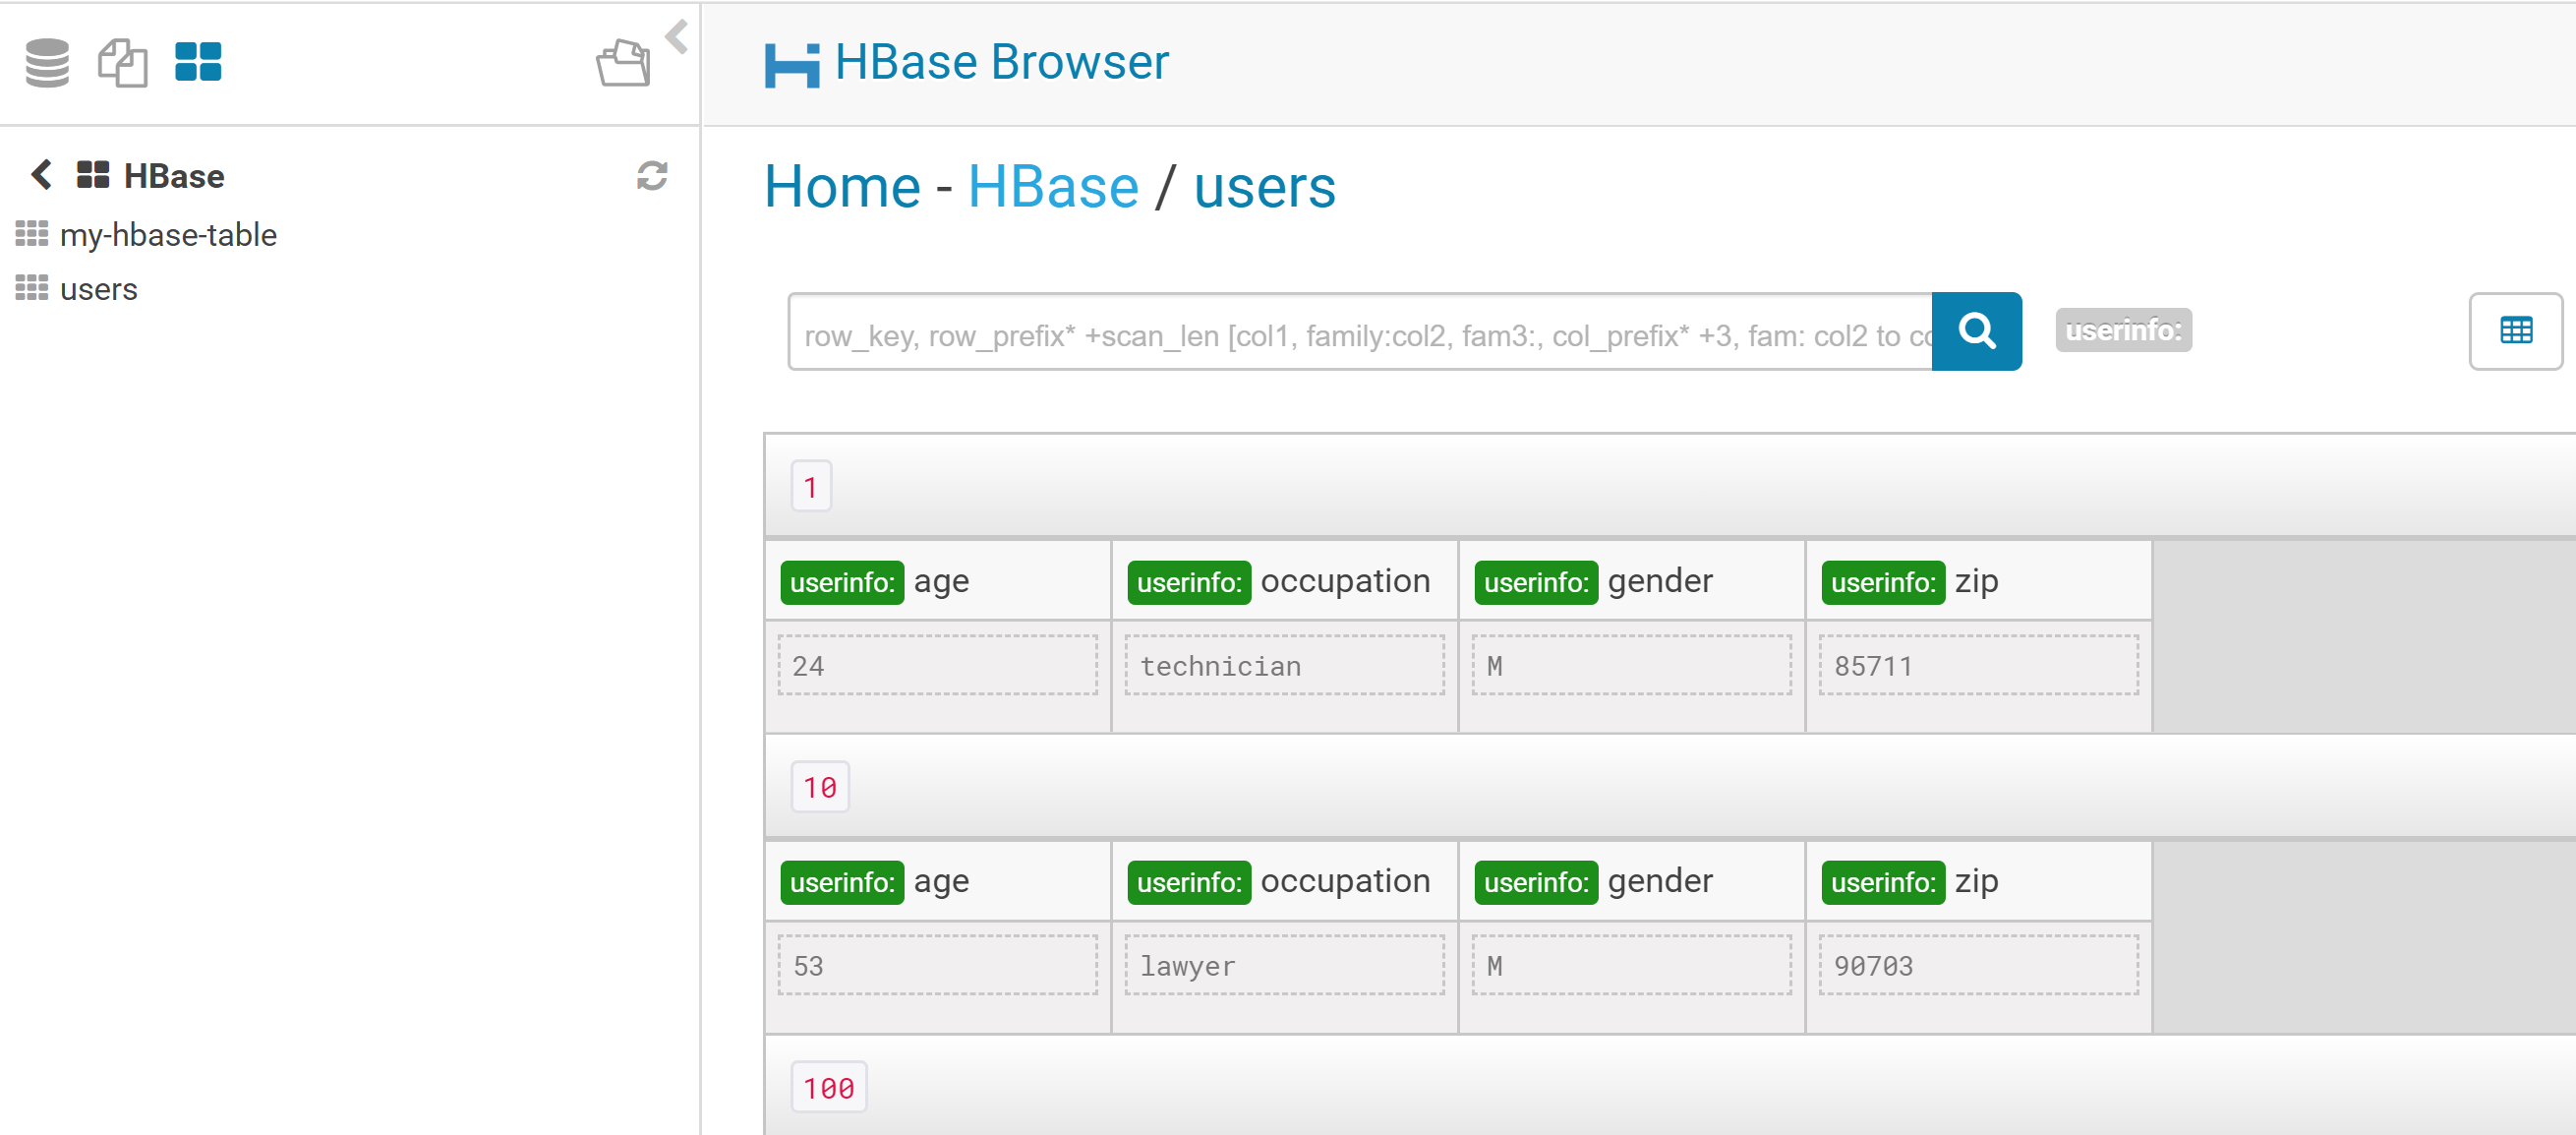
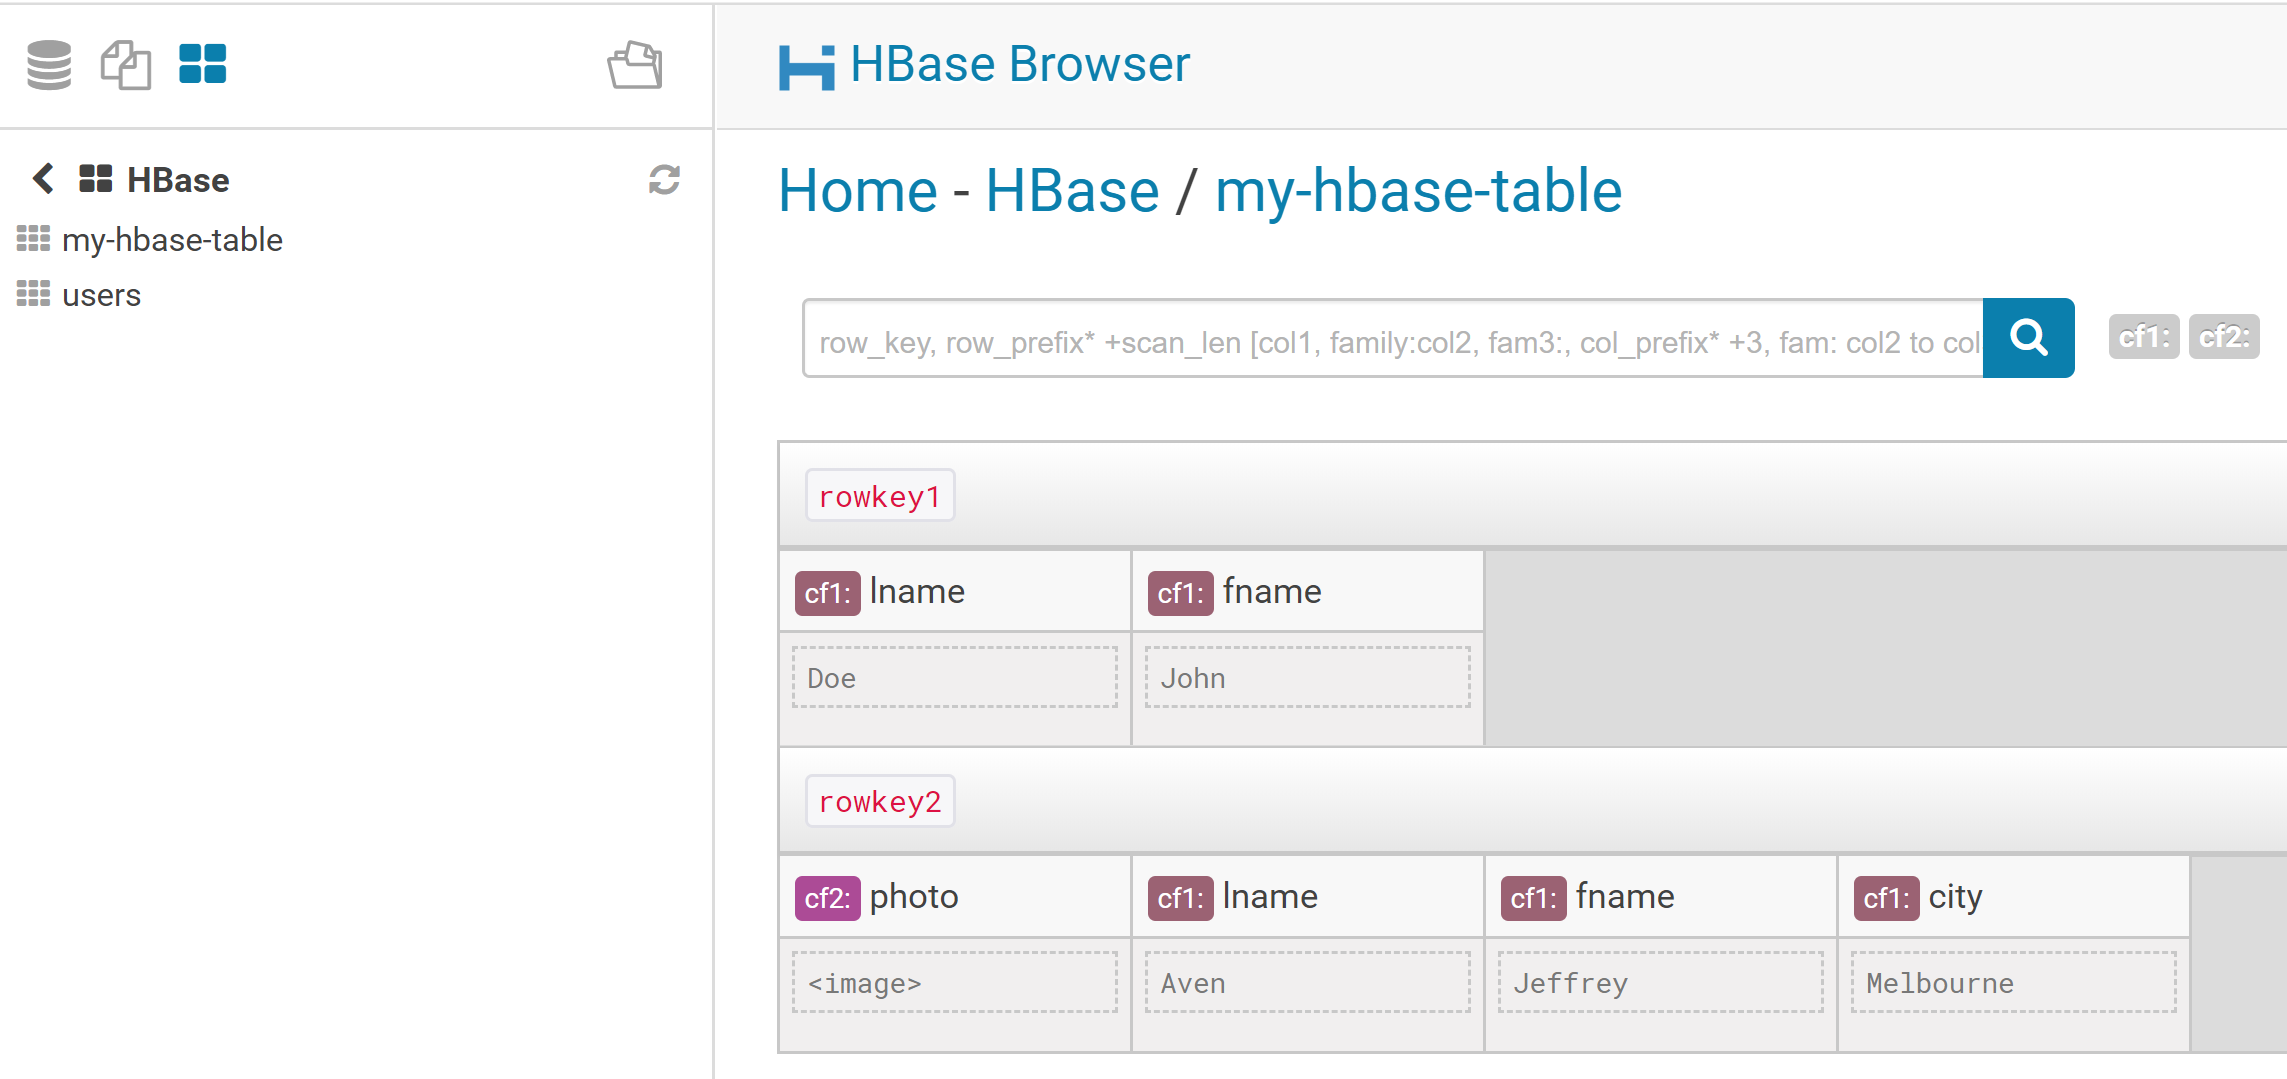
Log in to HUE. The HBase browser should now be available in the main menu.
We can now browse across HBase tables using in HUE:
To drop the table in HBase, type-in the following command in the HBase shell (NOTE: you need to disable a table prior to dropping the table in HBase):
disable 'my-hbase-table'
drop 'my-hbase-table'
Load a file in HDFS into HBase using Pig
Suppose we have a file in HDFS we want to load into a HBase table. We can easily do that using Pig. This can be done in two steps:
Create the table in HBase.
Run the Pig script to load the file into the newly created table.
Let's consider we want to move the file u.user located in /user/ubuntu/ml-100k/ to HBase. This file has 5 columns and is pipe (|) delimited.
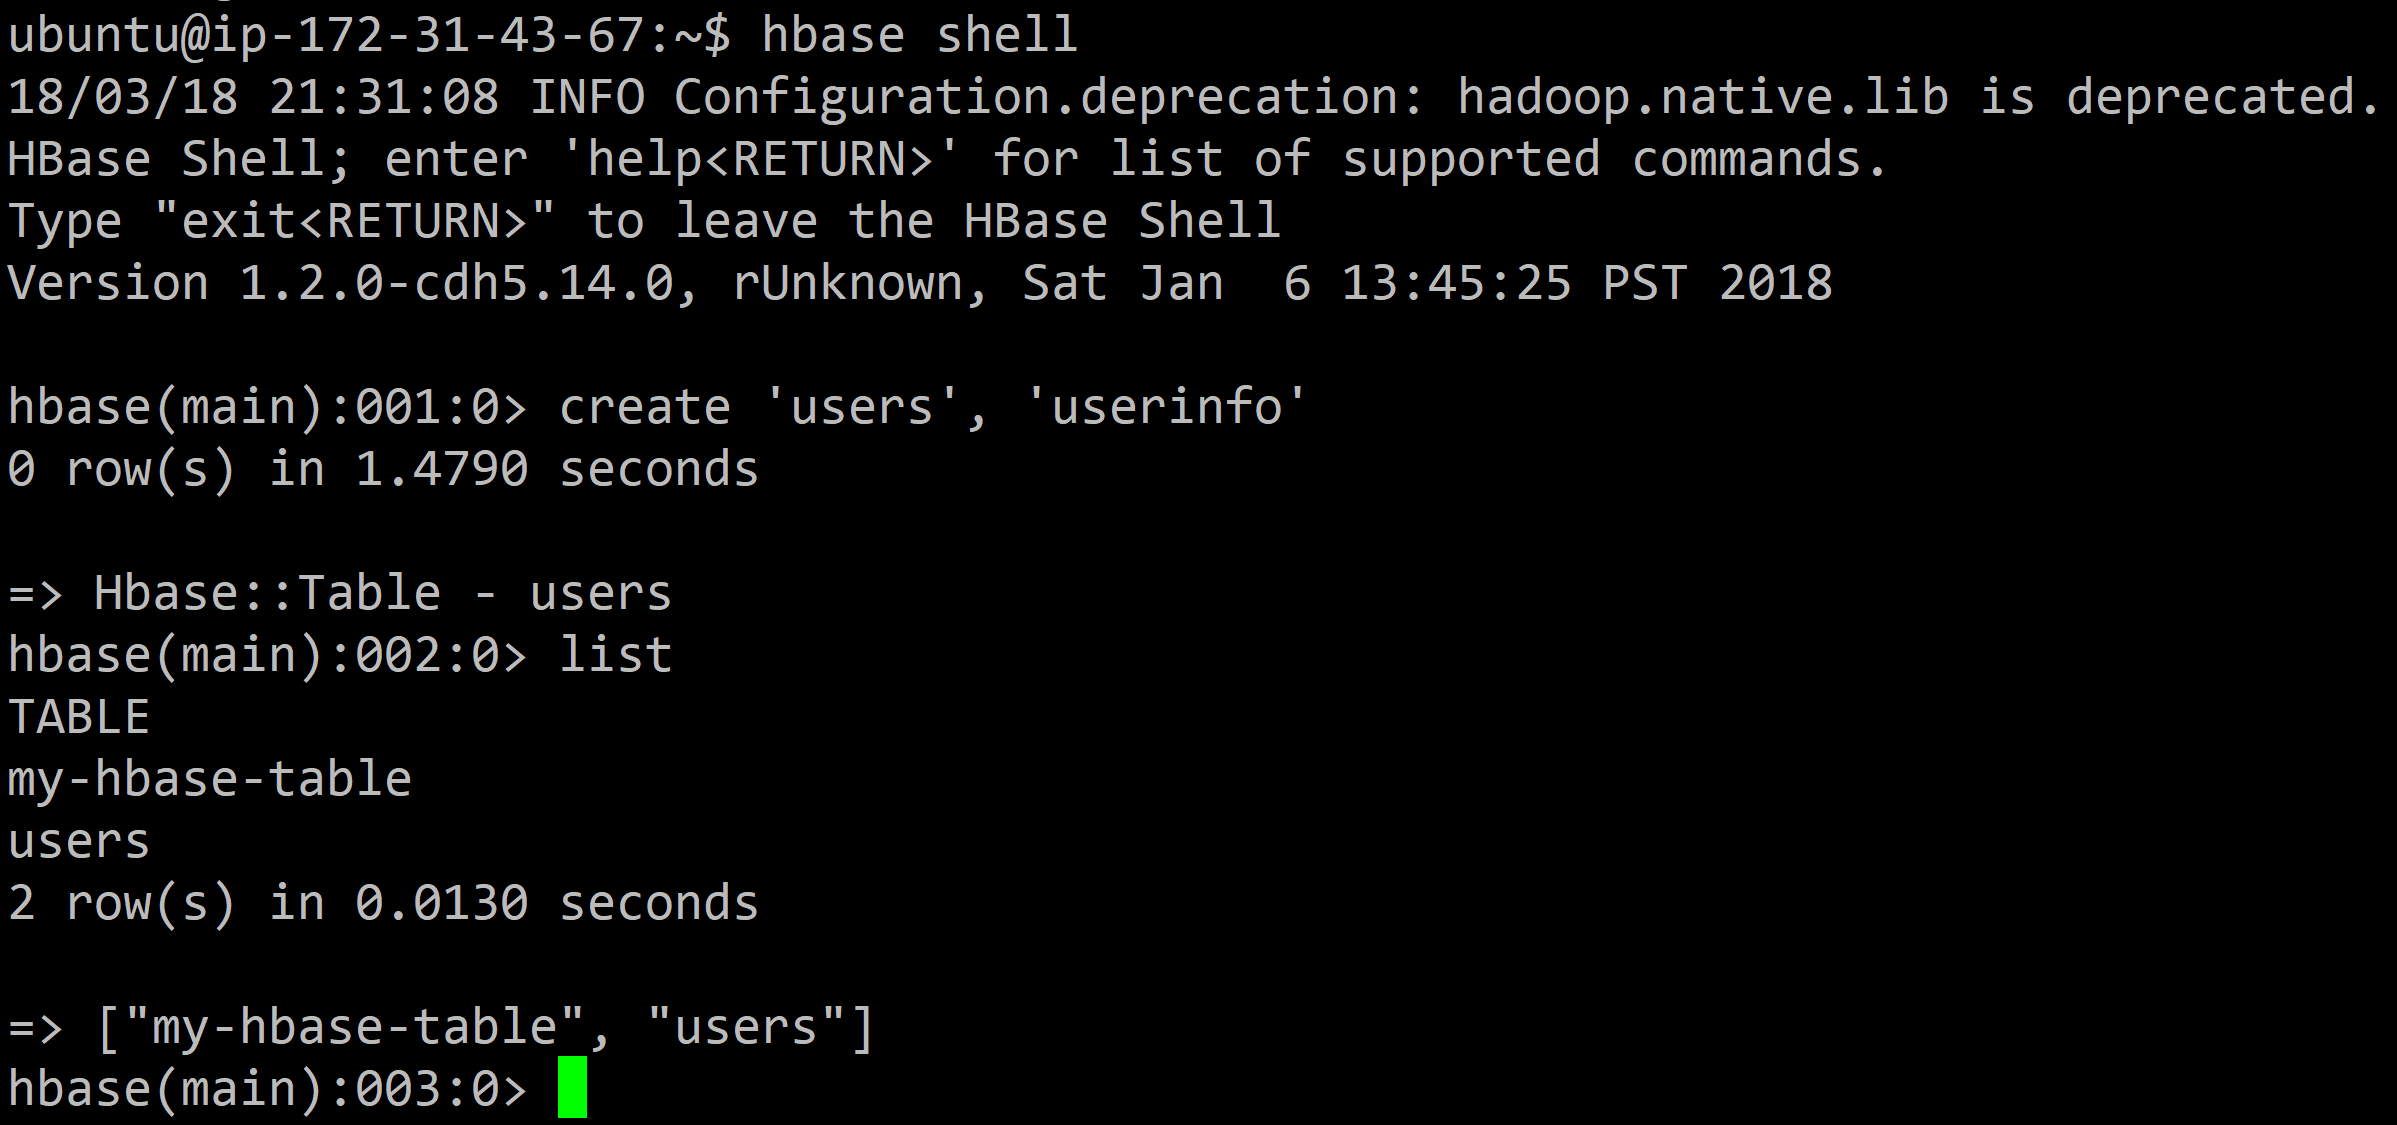
In the Terminal, enter the HBase shell:
hbase shell
Then create a new table users with one column family userinfo using the following command:
create 'users', 'userinfo'
Exit the HBase shell
exit
and run the Pig shell/Grunt:
pig
In the Pig shell, run the following command to load the file:
users = LOAD '/user/ubuntu/ml-100k/u.user'
USING PigStorage('|')
AS (userID:int, age:int, gender:chararray, occupation:chararray, zip:int);
Then we can store the relation in the HBase table. By default, the first column of the relation will be the row key of the HBase table.
STORE users INTO 'hbase://users'
USING org.apache.pig.backend.hadoop.hbase.HBaseStorage (
'userinfo:age,userinfo:gender,userinfo:occupation,userinfo:zip');
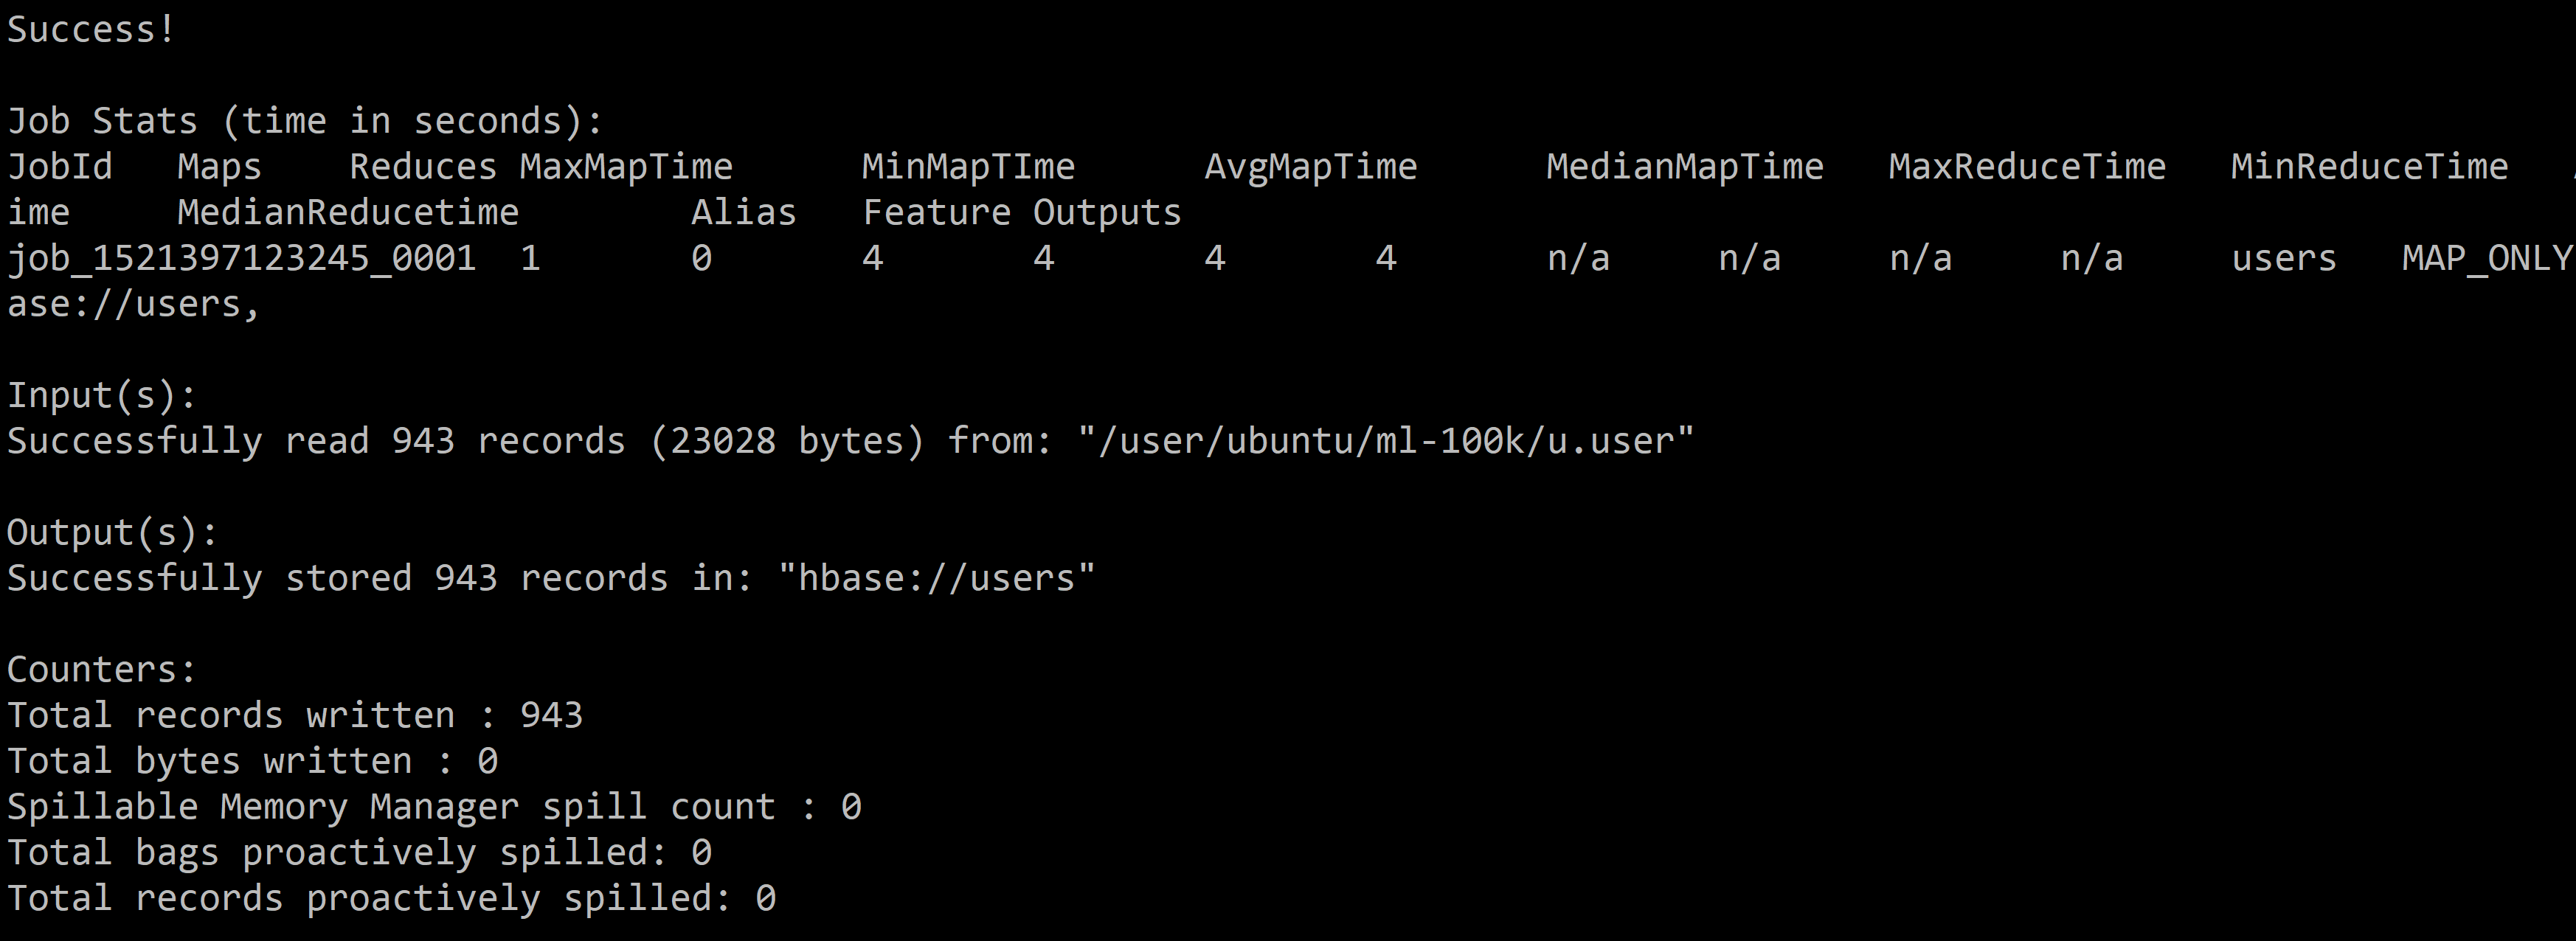
We can now browse the table in HUE using the HBase browser: